
Alrighty, today we are going to be sinking our teeth into assembling our bodice, which involves a decent number of steps. Be sure to take your time moving through each one and take as many breaks as needed 😊
Before I sew my darts, I like to mark out my darts with some tailors chalk or another marking medium safe for fabric. It makes the entire process of sewing a straight line on a angle sooooo much easier than eyeballing it.


Once you've got your darts marked out, sew your front bodice darts by pinching the right sides of your fabric together, matching up the dart legs and sewing to a tapered point, creating a triangle using a straight stitch. Do not backstitch at the end points.


Tie off the ends of your threads at the dart points.


Press your darts down towards the waist.


 Please disregard the threads hanging off my dart at this point - I wound up pressing my dart prior to tying off the excess thread!
Baste your dart in place.
Note: If you are sewing the DD-Cup bodice, you will have an additional set of bust darts to complete! Once you have completed your waist darts, press them towards your side seams and baste into place.
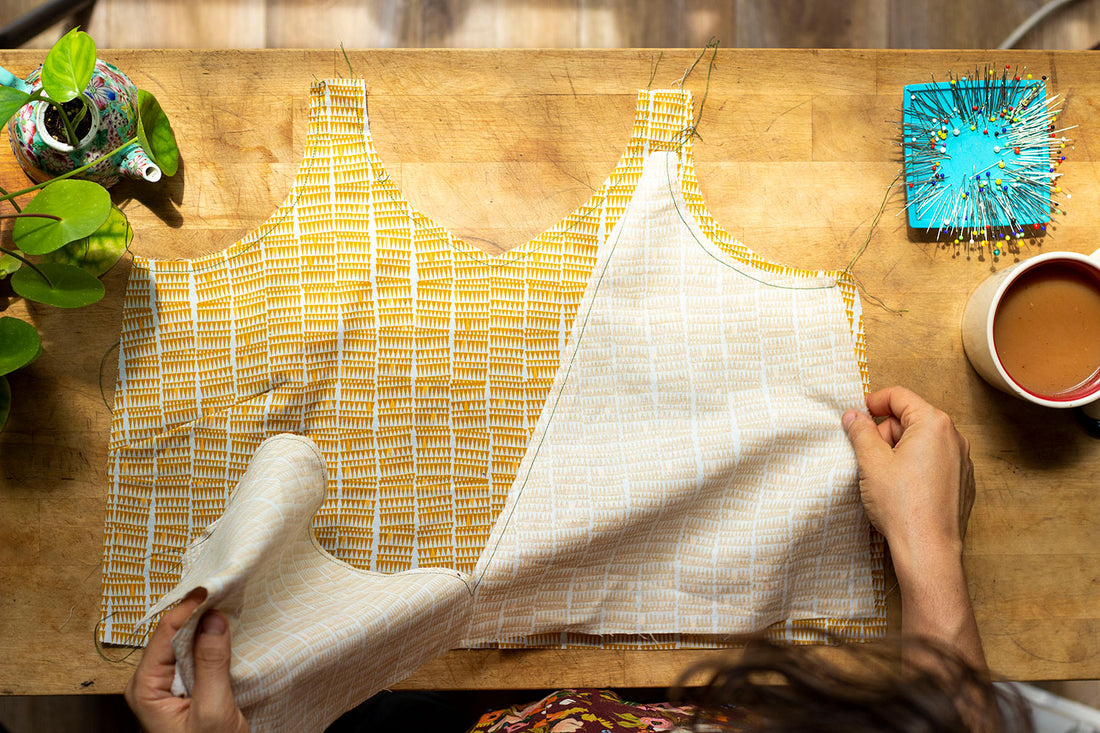
Grab your back bodice and, with Right Sides Together (RST), attach your front bodice to your back bodice at the side seams.
 I am using my lining fabric to illustrate these next steps because I thought it was easier to see what I was doing (compared to the cream colored linen).


Press your seams open.


Repeat all of the above steps with your bodice lining pieces. Set your lining to the side once you have completed these steps.
With your main bodice, align your straps to the center of the strap opening of your front bodice piece.


Working with one strap at a time -- and making sure not to twist your straps! -- align the un-basted edge of your strap to the center of the strap opening on your back bodice. Baste in place.


Now is the perfect time to pause and try on your bodice, just to see how the straps fit. I intentionally kept the straps all one length because every person has different preferences when it comes to strap length + bodice placement! If you find they are too long, shorten them until they feel comfortable and re-baste into place. If they seem too short, un-pick them and see how much length you need to add to get a perfect fit! Keep in mind that when you add your pants to your top, the weight will bring your bodice piece a bit lower, and if you shorten your straps the bodice will raise the waistline and pant rise a bit.
With RST, attach your bodice lining to your main bodice along the neckline, strap opening, and under arm seams.
 I tried to capture as many photos of this process as I could, but it's quite tricky to photograph. Basically, I just pinned my bodice in sections, moving the straps as I needed, until I wound up where I started pinning at the beginning.


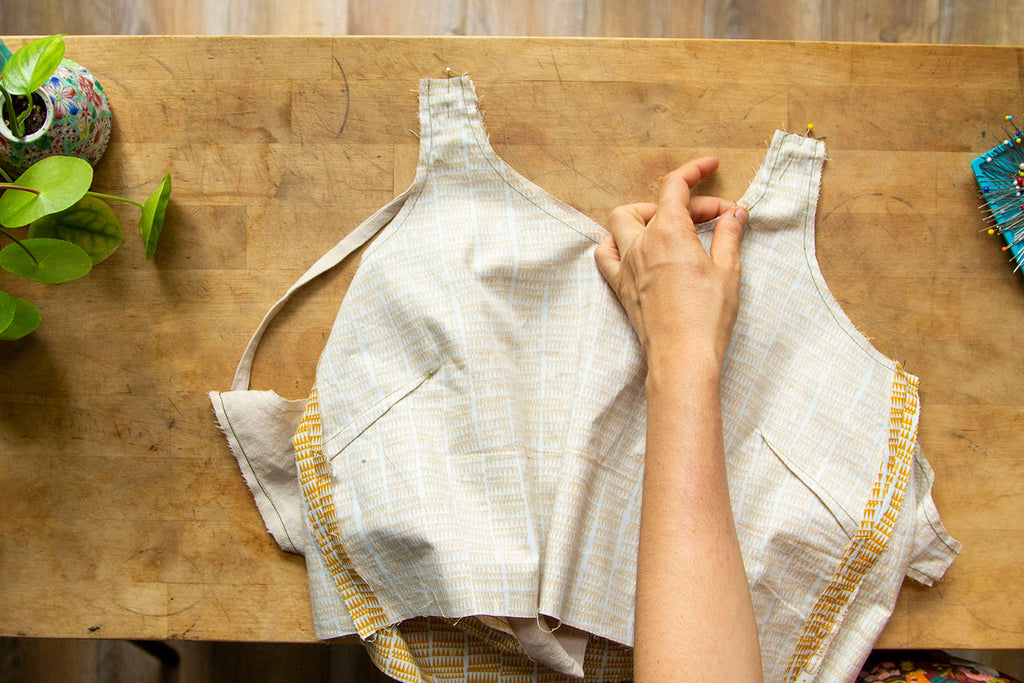


Note that you will be sandwiching your straps between the lining and main bodice and may have to wriggle it about when you sew that area.
Now it is time to clip, clip, clip! Clip little triangles out around any curves, the strap points, and your neckline points. Be careful not to clip through your stitching line!
 I know it looks like I am clipping through my seams here, but I promise, those are just my staystitching + basting seams!


Turn your bodice right side out and check to see that you haven’t accidentally caught your straps in a funny way to your bodice (as I have done countless times!).

Understitch your necklines and underarms as far as you can.

Press your entire bodice along the necklines and underarms for a clean and crisp edge. Doesn't that look and feel awesome? I always love pressing my necklines!


Finally, with wrong sides together (WST), pin your lining to your main bodice at the waist. Baste along the bottom edge. This will ensure that your bodice and lining don’t shift on you in future steps!

Oh, if you are adding a cute little tag to the inside of your bodice, now is a great time to do so! For the Low Back Olive, I always sew through both the lining and main layer of fabric using a thread that matches the outside of my garment.

Whew, what a day! I hope you are feeling super accomplished (I know I am!). Give yourself a pat on the back or a super high five cuz your bodice is DONE! Next up, we will be working on Part 4 - Patch Pockets. If you happen to be sewing up the Inseam Pockets you will want to jump on over to the Bra Friendly Sewalong for Part 4 and Part 5.