
We did quite a bit yesterday, so today we are going to take things nice and easy by focusing on prepping then attaching our pockets to our pants.
With RST, sew your pocket pieces along the angled edge, long edge with no notches, and bottom edge.


QUICK TIP: One of my fabulous testers from the original pattern, Kathleen, mentioned that if you cut the opening edge of your pocket "lining" down by 1/8" (0,3 cm), it would help to roll that particular edge towards the inside of the pocket creating a cleaner finish for your pocket!
Clip the bottom corners.


 When sewing corners, I always reinforce my corner point by backstitching a few times right at the corner turn. This helps to keep fragile fabrics from fraying in the long run.
If you find your pockets feel a bit bulky, you can also go ahead and grade your pocket opening seam.


Then, turn your pockets right side out and press.


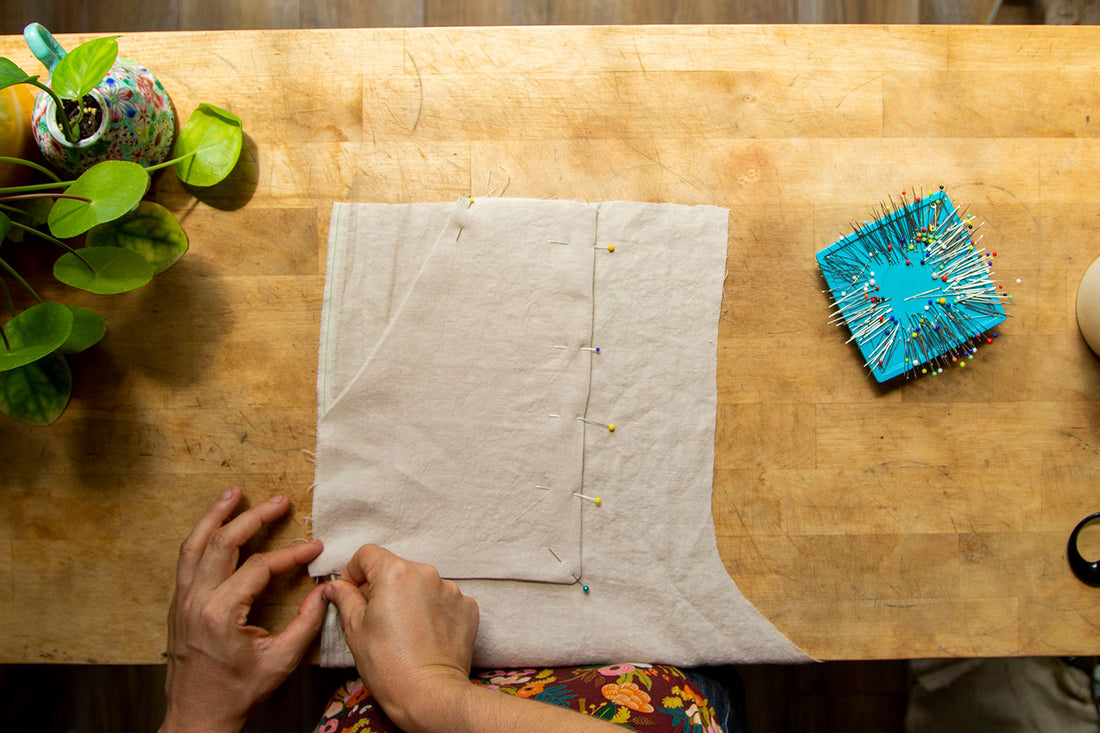
Pin your pockets to your front pant leg by matching the waist and side seam
notches.


Edge stitch your pockets into place along the outer pocket edge (the two seams
closest to the crotch curve.)

Baste the seams of your pocket with the notches to your front pant piece. This will keep your pocket from flopping around while you sew up your pants!
Fantastic! You've officially finished your bodice (check) and your pockets have been attached to your bottoms (check)! Next up is Part 5 - Pant/ Short Assembly!