
Today, we have got only 4 seams to tackle - that's not so bad, right? 4 seams and then you will have a pair of pants/ shorts. I think that's pretty nifty.
With RST, sew your front pant legs together along the crotch curve. Finish your seams and press towards the left.


Working with your back pant legs, repeat the same step as above, sewing along the crotch curve, finishing your seams, and then pressing towards the right.
Now it is time to bring both pant legs together!
With RST, sew your front and back legs together along the side seams, starting at the waist and following through to the hem. Finish your seams and press them towards the back of your garment.


Let’s finish up those pant legs!
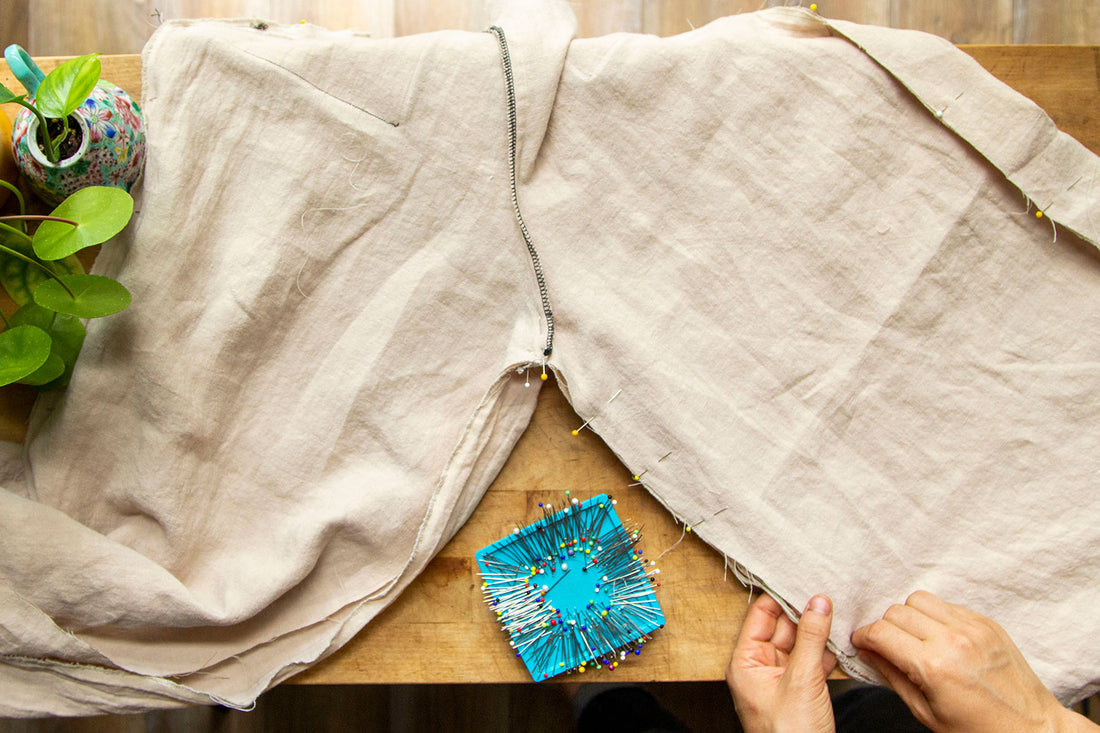
With RST, line your front and back crotch seams at the inner legs.


 At the crotch, I like to make sure that my two seams are facing opposite directions. This way, I reduce the amount of bulk at this one intersecting point.

Sew the inner legs together in one long line, beginning your stitching at one hem and then finishing through the other hem. Finish your seams.
And that's it - you currently have two halves of a whole completed. Now all that is needed is to put them together which we will do in Part 6 - Attaching the Bodice.