I feel as if the Olive Jumpsuit has been my most updated pattern. It started as a free pattern (back when I was just dipping my toe into the world of indie pattern design) with a limited size range and a whole mess of mistakes. And from those mistakes and feedback, I updated it and made it better! I expanded the size range and re-vamped the instructions and learned a ton in the process.
Now, in it's 3rd iteration, I have added more improvements to the list! It's been 2 years since I re-launched the Olive, and in those two years I have learned A LOT about pattern making and have incorporated them into this new update. That includes fixing mistakes that have been pointed out to me, adding on a DD-Cup option to the draft, and revamping the instructions one last time!
I hope that everyone is able to enjoy these new updates! If you happened to have the original Olive pattern and you liked it just fine, then that's cool, too! It is my goal as a pattern designer to continually try to improve and make my patterns just a little bit better for those sewing them. 😊
For this sewalong, I'll be doing the following:
1) I will be releasing all of the updated sewalong posts at once. I hope that by doing so, every sewist feels confident to tackle this project at their own pace and doesn't get held up by me in anyway! Plus, for those with the pattern already, I wanted to provide immediate access to the sewalongs in case anyone was mid-project when these updates went live.
2) I will be following my *new* instruction booklet as closely as I can so that you can flit back and forth between this sewalong and the drawings in the booklet with as much ease as possible! If you are working with the older instruction booklet, most things have remained the same, though there have been a few updates. Feel free to email me if you would like a copy of the new instruction booklet.
3) I will continue developing supplemental material for this pattern as I can! I already have a couple of hacks up on the blog with more ideas to come.
4) I am doing both the Low Back and Strapless Bra Friendly Back sewalong simultaneously! Both work with either pants or the shorts view as well as pocket options, so if you are mixing and matching your views, feel free to jump back and forth between the sewalongs, picking up whatever information is most beneficial to you.
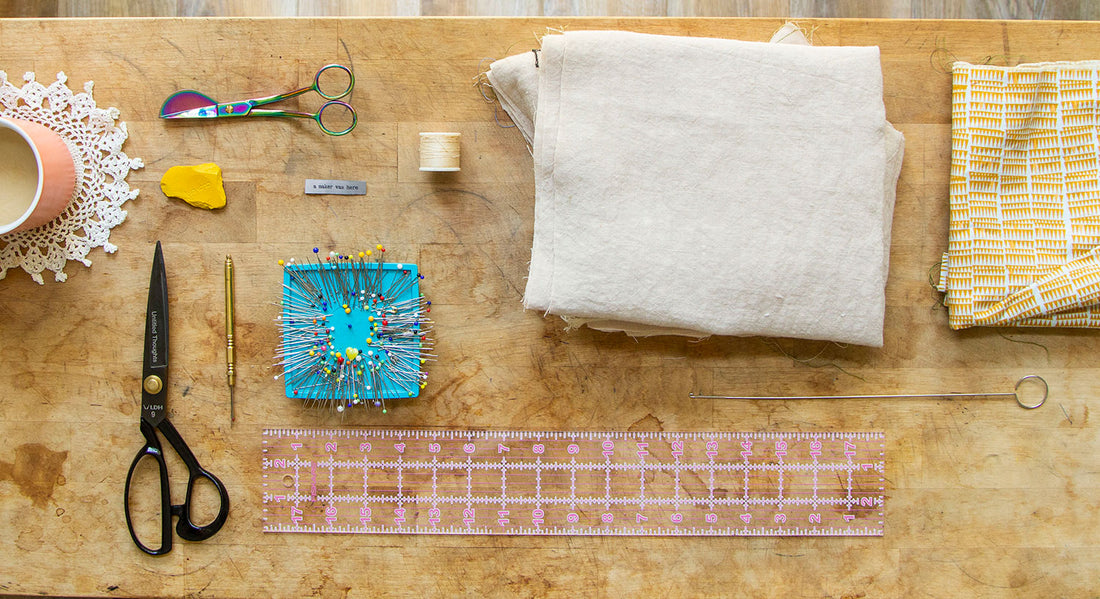
SUPPLIES NEEDED:
Check page 23 of your instruction booklet for my handy Materials Checklist

Before You Start!
There are a few things I'd like to note before we jump in to your project!
1) If you haven't already, I suggest washing your fabric. Nothing is worse than finishing a project and then having it ruined come laundry day. I can't tell you how much I've regretted not taking the time to wash my fabric before sewing it up. So many cute items are now basically child-sized because they have carelessly been tossed into the dryer, and they were never pre-shrunk.
2) While you are waiting for your pretty fabric to wash & dry, I highly highly suggest sewing up a toile. That way, you can be 100% certain that your garment will fit you EXACTLY how you envisioned before you cut out all the pieces in your pretty fabric.
Plus, you can work on some techniques throughout the process that may be tricky and find your favorite way of putting everything together! And since we all are shaped differently, any part of this garment might lay on us imperfectly. Might as well work out those kinks while the fabric is tumbling away in the dryer!
3) The seam allowance for this pattern is 1/2" (1,3 cm) unless otherwise noted!
4) Remember to be easy on yourself and take lots of breaks! Sewing is supposed to be fun, so if you feel yourself getting frustrated, take a deep breath, tell yourself nice things, and grab a sweet treat! That could mean taking a TV break, walking around outside, grabbing a special cup of coffee, or opting for a quick nap.
Let's Get Started!
Today is going to be a short day, focused entirely on prepping your pattern pieces. I always like to get all the little prep bits out of the way first. That way, when the major sewing begins, I don’t have to stop to change a bunch of settings on my machine — I can just dive right in!
To start, we will be staystitching our Front and Back Bodice pieces as well as Front and Back Bodice Lining pieces. The bits we are staystitching are:
• Bodice Front + Back neckline
• Bodice Front + Back armholes
• Bodice Lining Front + Back neckline
• Bodice Lining Front + Back armholes

This next step is especially important when tackling the low back options as the neckline can easily stretch out through handling. To keep your garment’s necklines extra secure, add a bit of twill tape or interfacing to the wrong side (WS) of your main fabric along the neckline edges.


I like to sew my twill tape like... 1/8" (0,3 cm) to the inside of my seam allowance edge. That way it doesn't add bulk to the seam while also allowing for clipping in future steps.
And that is all for today! Easy-Peasy! Next up, we will tackle sewing up our straps in Part 2. See you there!

