

Compared to sewing in the Sleeves, today's tutorial will hopefully feel like a walk in the park. Plus, it marks the halfway point in our project as our Bodice will be pretty much fully finished!
With RST, sew your non-interfaced Front Waistband to your Back Waistband pieces along the side seams. Repeat with your interfaced waistband pieces.


Press your seams open.


Press the bottom edge of your non-interfaced waistband toward tahe wrong side by 1/2” (1,3 cm). The bottom edge of your waistband is the one with two notches at the CF.


Sandwich your Bodice in between your interfaced waistband and non-interfaced waistband pieces, making sure that your side seams and notches all match. Note: Your interfaced waistband should be touching your outer bodice pieces.


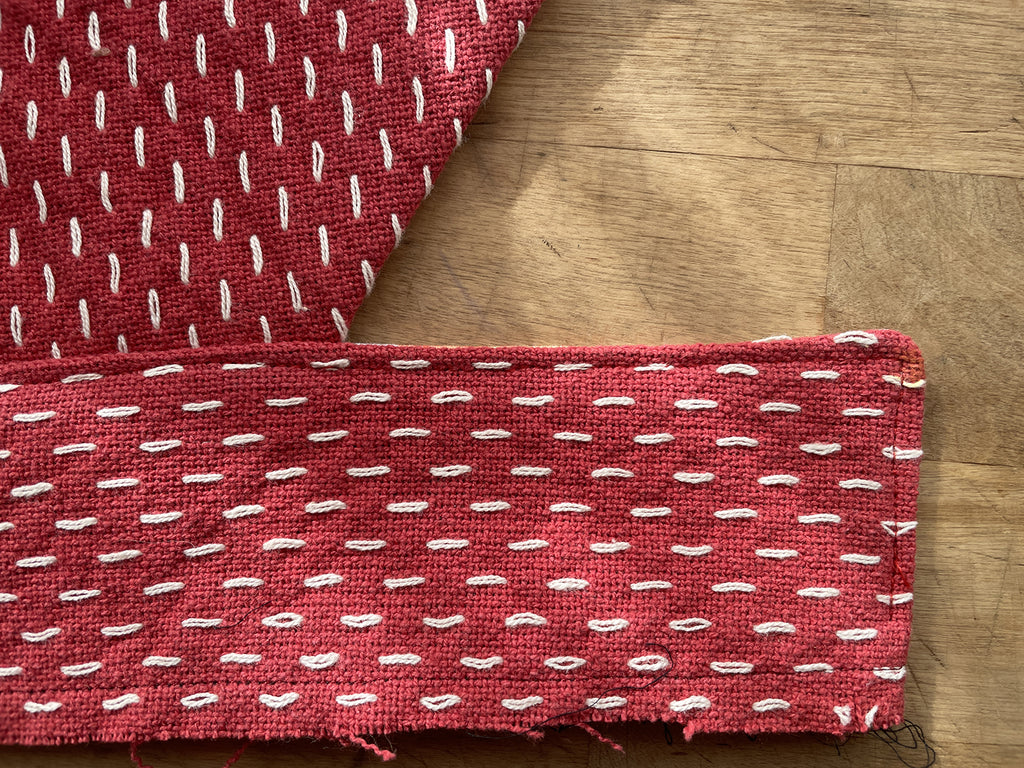
Sew along the two short edges and long straight edge of your waistband, starting and stopping at the dots.
Grade your seams and clip your corners to help reduce bulk at the waist!


Turn your waistband out and press it downwards.


Topstitch along the edges of your waistband, again starting and stopping at the dots.
Yay! 50% of your Amélie Dress is complete! Now it's time to switch gears and start working on the Skirt. To begin, we will dive in to Part 6 - Patch Pocket Assembly. If you happen to be sewing up the Inseam Pockets, you will want to jump on over to the Skirt Amélie Sewalong - Part 3 - Inseam Pocket Assembly.