Today is another super simple day. I love easing into projects, checking off tasks quickly right at the start. It always helps me to get more and more excited about tackling more challenging aspects of a pattern later on.
With RST, attach your non-interfaced Front Waistband to your Back Waistband pieces along the side seams. Repeat with your interfaced waistband pieces.


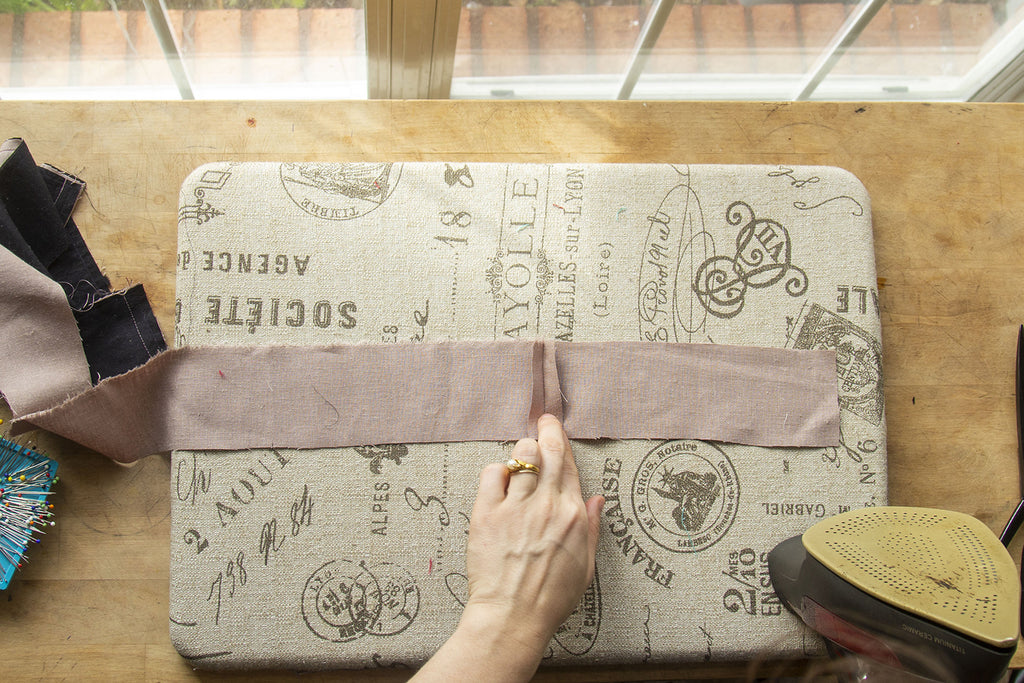
Press your seams open.


Press the bottom edge of your non-interfaced waistband toward the wrong side by 1/2” (1,3 cm). The bottom edge of your waistband is the one with two notches at the CF.

 I love using this little pressing mat - I used to just eyeball my measurements until I found this gem!

With RST, sew your interfaced waistband and non-interfaced waistband pieces along the two short edges and long straight edge of your waistband, starting and stopping at the dots. Make sure that your side seams and notches all match.


I like to reinforce any corners where I know I will be trimming by adding a few backstitches before and after pivoting. I find that this extra step really increases the longevity of my garments where they tend to wear out the fastest.

Grade your seams and clip your corners to help reduce bulk at the waist.


Turn your waistband out and press it downwards.


Topstitch along the edges of your waistband, again starting and stopping at the dots. Don't topstitch the bottom edge as this will need to be attached to your skirt later on.

Annndddd done! That's all we have on the agenda today! Next up is Part 3 - Inseam Pocket Assembly. This part will be a tiny bit more involved, so don't forget to put on your favorite music and grab a snack or glass of water before diving in! If you happen to be sewing up the Patch Pockets you will want to jump on over to the Bra Friendly Back Amélie - Part 6 - Patch Pocket Assembly.

