
Can you believe it? We are nearly finished with our Olive's! Just a few more steps today and some Finishing Touches tomorrow, then it's all done 😃
With RST, sew one of the short edges of your waist ties together.


Press your seam open. *Note: If you have fragile fabric that frays easily you might want to finish your seam and then press it to one side. Thanks for the tip Esther!


With RST, fold your ties in half lengthwise (like a hot dog!) and sew along the long raw edge , leaving both short edges open.


Trim your seam in half.


Turn your tie out using a chopstick, rouleau turner, or even your fingers, just as you did with your straps.
Press your tie nice and flat, then set it aside for a second while we tackle the tie casing.
With RST, sew one of the short edges of your tie casing together. Press your seam open.
Press your seam open. *Note: If you have fragile fabric that frays easily you might want to finish your seam and then press it to one side.
Iron the short ends of your tie casing towards the wrong side by 1/2” (1,3 cm) and then another 1/2” (1,3 cm).


Stitch along the inner folded edge.

With WST, press the long edges of your casing in by 1/2” (1,3 cm). It’s the same as if you were making bias tape!


Grab your jumpsuit and waist tie casing. Matching up the Center Back (CB) seams, pin your tie casing to your outer jumpsuit, making sure that your casing is straddling the waist seam.


PS: When you get to the front of your jumpsuit, your casing should end right along the edge of your patch pockets. If you opted for inseam pockets, your casing will end at the notch (located inside your garment).


Edge stitch the top and bottom edges of your tie casing, making sure that you aren’t accidentally sewing your garment shut at any given point (Speaking from personal experience here!)

Finally, pull your waist tie through the casing using a safety pin.


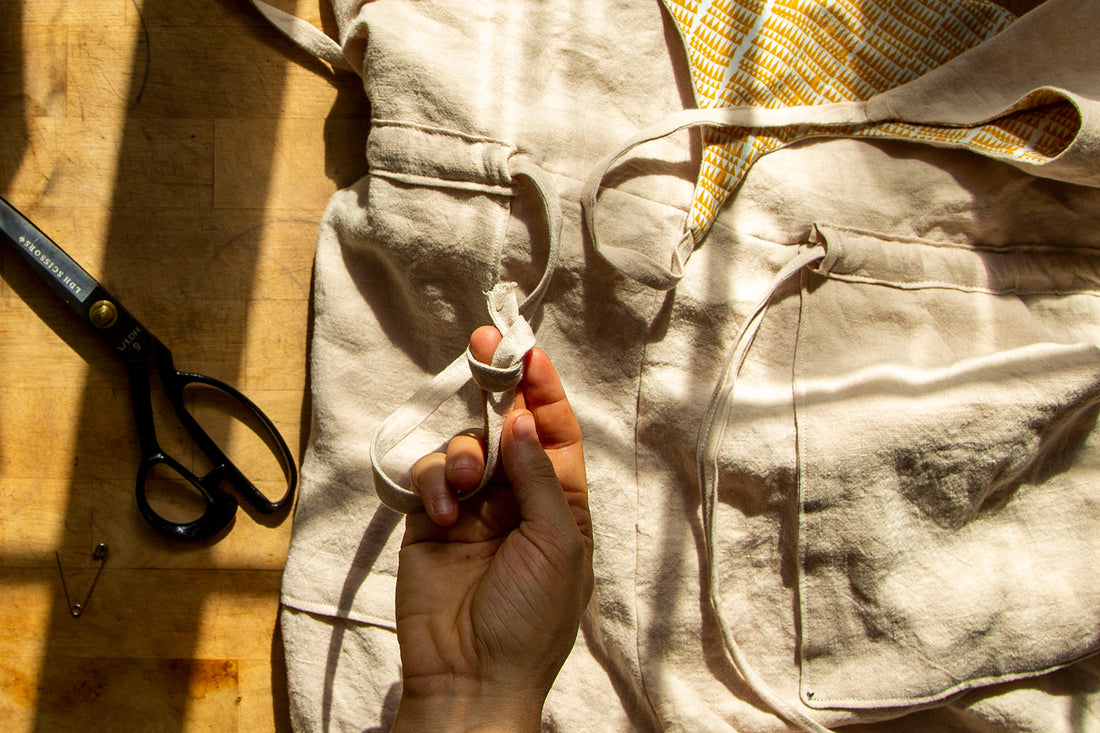
Finish the ends of your ties by tying them into knots!


Special Tip: If you want to ensure that your waist tie never comes out of the casing, simply stitch through the CB seam of your jumpsuit. This will catch the waist tie perfectly in the center of your garment! So not only will it never fall out in the wash, you will also have perfectly even gathers every time you wear this piece. Win-win!


And we are done for today! Next up we will tackle the final Part 8- Finishing Touches and then you can show your newest creation to everyone you know!