
Today we will be taking on sewing up the sleeves of the Mathilde! What is so great about working with knit sleeves is that they give you an introduction into sewing sleeves without all the fuss that setting in a woven sleeve might. You've got a bit more leeway with a stretchy knit sleeve, so there is no need to fret :)
Regardless of which sleeve option you choose to work with (Flutter or 3/4
Sleeve) the assembly will be identical!
With right sides together, pin your sleeve piece into the armhole opening
on your bodice.
Use your pins to match:
- The notch at the top of your sleeve with the shoulder seam.
- The underarm raw edges on your sleeve and bodice.
- The single notch on the sleeve with the single notch on your bodice front.
- The double notches on the bodice back and sleeve back.

Depending on your fabric selection, you may notice after pinning that your sleeve cap is a little bit larger than your armhole opening. That is 100% ok! As you sew, your sleeve cap should naturally ease itself into the armhole opening.
When everything is looking good, go ahead and sew your sleeve into place with
a zig-zag stitch. Repeat on the other sleeve and armhole!
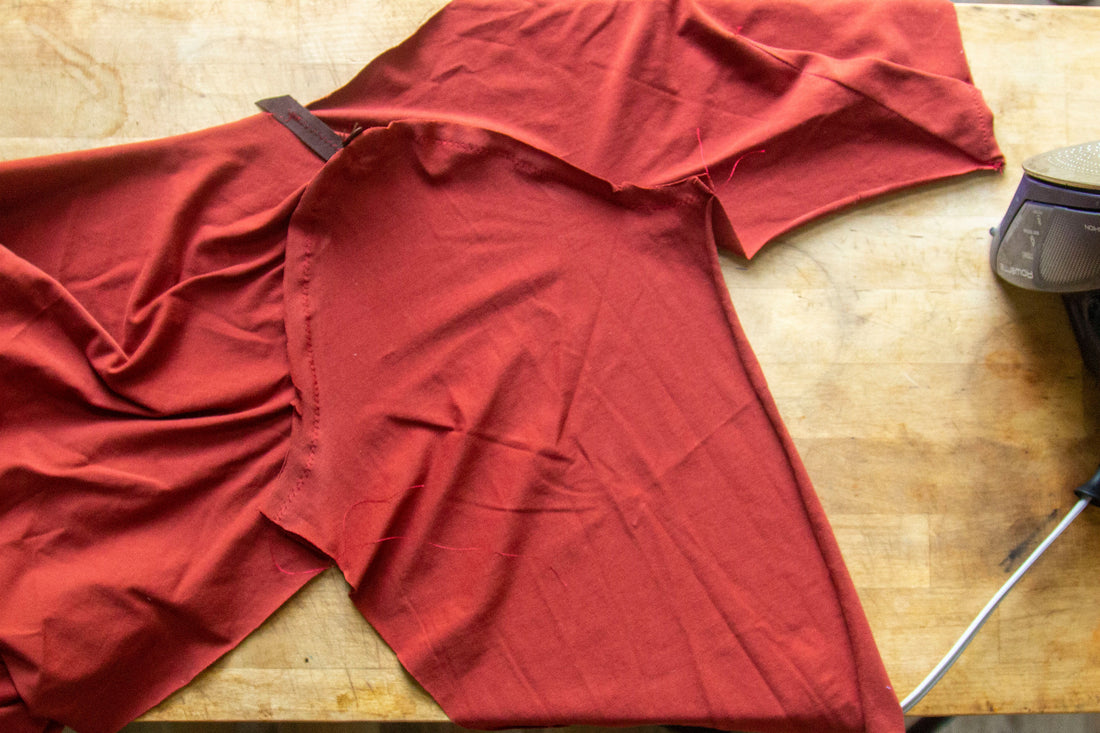
Trim your seam allowance and press them towards the sleeve cap.


Feel free to give yourself a high five — you just took on a set in sleeve and totally NAILED it! I’d say that calls for a sweet treat before moving on to the next step.
With right sides together, pin from your sleeve hem down through to the waist. Sew your seams together using a zig-zag stitch beginning at the waist and working toward the sleeve opening.

Trim your seam allowance and press them towards the back. Repeat with the other sleeve.

Let’s finish up your sleeve and hem it! Iron your sleeve hem back by 1/2” (1.3 cm).

Pin your hem into place and sew along the edge using a zig-zag stitch or a fancy
double needle!


And if you are super nervous, why not take some time and test out sewing the hem on a scrap piece of fabric? That way, you can feel your most confident when tackling the real deal!
You just did a remarkable job nearly finishing up your Mathilde bodice! I hope you have treated yourself to lots of praise, cookies, a bubble bath... whatever makes you feel like a super hero because you 10000% are!
I hope you enjoy a nice break and tomorrow we will move into Part 3 - Assembling the Neckband.