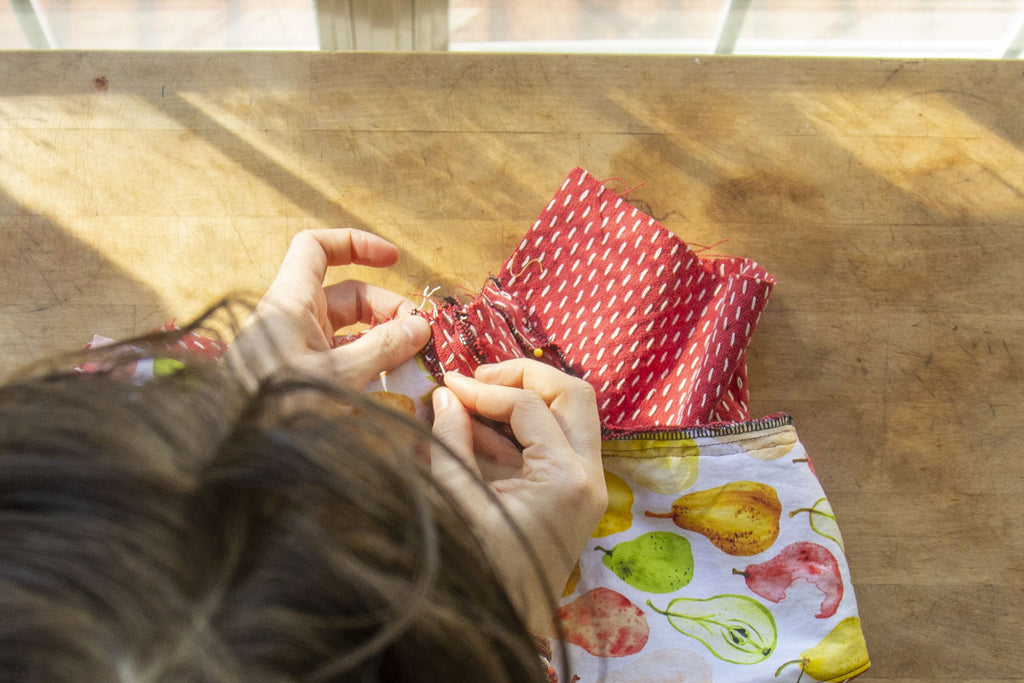
We have finally arrived at attaching the Sleeves to the Bodice. Once this part is complete, you will nearly have a completed Bodice - yay! Sleeves can be a bot tricky, so feel free to really take your time on each step, especially if you are also working with the underarm Gussets.
For the following, repeat each set of instructions for both of your Sleeves.
Mark a little line 2” (5,1 cm), on either side of the uppermost Sleeve head notch.


Using a long, straight stitch, sew a line 1/4” (0,6 cm) from the edge of your Sleeve between these two newly marked lines. Sew a second line 5/8” (1,6 cm) from the edge of your sleeve between these same two lines.
Lightly pull on the bobbin threads — this will cause the Sleeve to begin gathering. You don’t need huge gathers for this sleeve, just a small shelf.


With RST, pin your Sleeve to the Armhole opening on your Bodice. Match all notches/ dots.


If you are working with the underarm Gussets, be sure NOT to pin down the seam where the Gusset is currently attached to the Sleeve. Instead, pin to the dot, move seam allowance out of the way, then continue pinning on the other side from the dot, through the sleeve head, to the next dot.


Once everything is pinned into pace, you may notice some puckers along the sleeve cap. Try to smooth these out as best you can for a smooth finish!
For Sleeves without Gussets, simply sew your Sleeve into place. Make sure that your machine is no longer set to a basting stitch! Finish your seams.
For Sleeves with Gussets, begin sewing from the side seam of your Sleeve until you reach your first dot.Backstitch, and then remove your Sleeve from the machine.

Place your Sleeve back under your machine and lower the needle into the same dot, but on the other side of the seam so as not to catch it. Sew a few stitches then backstitch and sew through until you hit the next dot.


Repeat the same steps as above until you reach the other side seam of your Sleeve.


Press both Gussets and Sleeve cap seams open.
If this step seems confusing, I also have a video tutorial that I hope makes things a bit clearer. Just skip to to timestamp 13:20.
With RST, pin the underarm of your Sleeve and the side seam of your Bodice together.


I like to pin my Gusset seams open to help reduce the amount of bulk right at the underarm.


Starting from the Sleeve hem, sew all the way through to the waist seam. Finish your seam.


Here are the Gusset seams pressed open to help reduce the bulk at the underarm.
Time to finish your sleeve with a tidy hem! Press your sleeve hem towards the wrong side by 1/2” (1,3 cm) and then again by 1/2” (1,3 cm).


Sew in place along the edge.

Feel free to give yourself a high-five! You just completed a really tricky task and totally nailed it! I’d say that calls for a sweet treat before moving on to the next steps.

Next up, we will finish up our Bodice with Part 5 - Waistband Assembly!

