

Most straps are created with both ends being open, so turning them is a piece of cake! You simply grab a safety pin, fasten it to one end, and slide it through until it comes out the other side with a strap that is now right side out!
However, there are some patterns, such as the Fleur Pinafore, that see you sewing one of your short ends closed, making it a bit trickier to turn those straps out, especially when they are small. For those straps, I have two cool techniques that you can utilize during your next strap sewing adventure.
Well... technically I have three ways, but one involves a rouleau turner, and not everyone has one of those, so we shall skip that one for now. Plus, it's a pretty self-explanatory tool if you do happen to own one.
Alrighty, let's begin, shall we?
Option 1
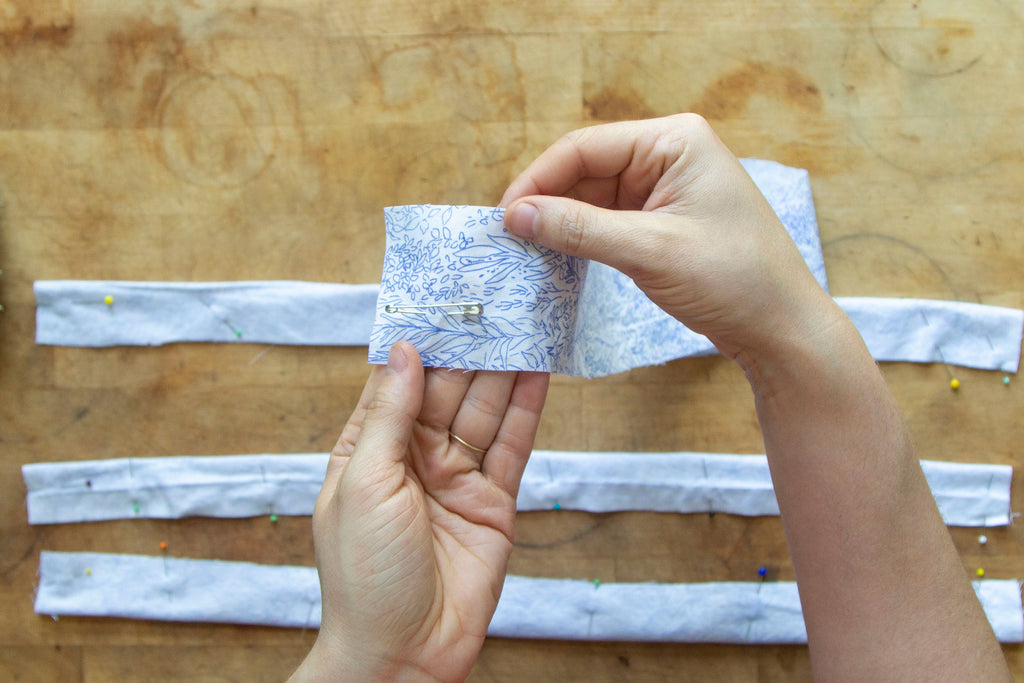
The Safety Pin
This option is best used prior to sewing your straps at all.
First, clip your safety pin to a part of your strap near one of the short ends. Make sure that it is not anywhere near the seam allowance as you don't want to accidentally run over this when sewing.
Continue by folding your straps right sides together (RST) and sewing along the short end near your safety pin, and the long raw edge.

Trim your seams and clip your corners (without going through your line of stitching!).

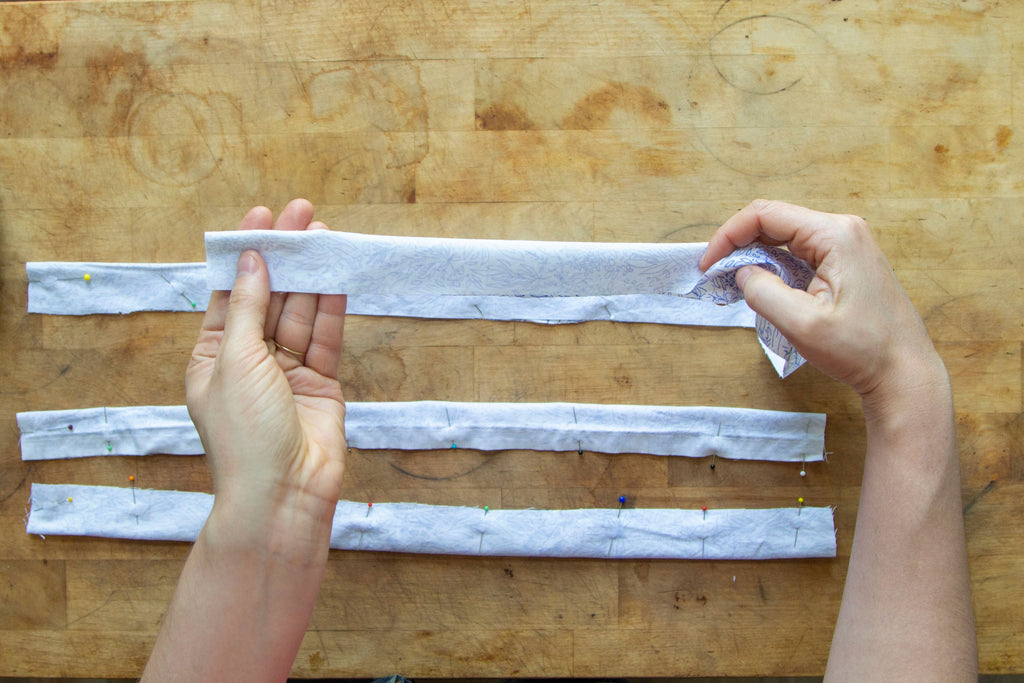
Now, you are going to slowly snake your safety pin through your strap, just as you might a normal strap.


Once your strap has been fully turned right side out, press it nice and flat and voila! You have successfully turned a really tiny strap that happened to have an enclosed end. Pretty nifty, right?


Option 2
The Chopstick
This option is perfect if you have already sewn your straps and you happen to have chopsticks lying around your kitchen (I know we do!) It also works well with the long end of a paintbrush if you have one of those in lieu of a chopstick.
Pinch out a small pocket at the sewn short end of your strap and slide the thinner end of your chopstick into the pocket.

Begin rolling the fabric over itself and the chopstick.

Don't accidentally poke your chopstick too hard and go through your corner piece (like I did!).
Once you have your strap turned to the right side, use the thin end of your chopstick to poke out the corners of your strap.

All that's left to do is iron your strap nice and flat!

Both options are relatively simple and utilize what you might already find in your home, but note that these are not the ONLY two options available! I have seen loads of different ways to turn out straps including using yarn! What are some of your favorite ways to turn out your smaller straps?
PS- Video Content for this tutorial coming soon!