

Sometimes, adding a zipper to a garment just makes sense, especially if you are looking to achieve the perfect fit for your unique shape! This is especially true with pants and jumpsuits, at leas tin my own experience it has been. If you find that you have a significant bust to waist to hip ratio in any combination, you have probably experienced garments that fit you perfectly in one area only to turn out to be too large / too small in another. It's why finding those perfectly fitting jeans feels so elusive!
But how do you know if your jumpsuit pattern in particular needs a zipper added? Is there a way to determine that before you go through the entire process of sewing up your garment only to discover it is a challenge getting it on/ off? The answer is a resounding YES!
Determining if You Need a Zipper
To find out whether you need to add a zipper to your jumpsuit requires nothing more than your Bust/ Waist/ Hip measurements and the finished garment measurements of whatever jumpsuit you are getting ready to sew. For this post, I will be using the Olive Jumpsuit as our example, but this applies to any jumpsuit that doesn't already include some sort of closure to get in and out.
First, using your personal Bust/ Waist/ Hip measurements, determine which size(s) you fall into for your intended jumpsuit. For example, let's say that your measurements are 43" B-Cup / 40" / 49" (109,2 cm B-Cup / 101, 6 cm/ 124,5 cm), which would put you in between a size E and F, grading from the Bust to the Waist.


Once you have your size(s) picked out, it's time to look at the finished measurement chart. What we are looking for here is to see whether the Bust measurement is equal to or slightly larger than your hip measurement. If this measurement is smaller than your natural hip measurement, then adding a zipper is a must**.


As you can see, the Finished Bust measurement is smaller than the natural hip measurement of 49" (124,5 cm) in this scenario. That is a difference of 2 5/8" (6,7 cm). Adding a zipper is the way to go in this instance!
** Note- If you are making a garment that has a very low back, a zipper is likely unnecessary as the garment is more flexible in measurement at the bust point.
Adjusting your Pattern
For the Olive, the pattern adjustments necessary to add a zipper are quite minimal. In fact, there is only one that is necessary and that is adding 1/2" (1,3 cm) to the Center Back (CB) of your bodice pattern piece and cutting two of the back bodice rather than one on the fold. Everything else will remain the same!

Sewing Your Zippered Jumpsuit
All of the adjustments necessary for inserting a zipper into your jumpsuit will come from the sewing. There may be a bit of jumping back and forth from this blog post to the original instructions, so feel free to take each part slowly and take as many breaks as you need!
Prep Work + Straps
For supplies, you will need all the same supplies as listed in the instruction booklet as well as a zipper (basic or invisible), zipper foot, and hook and eye. Make sure the length of your zipper is long enough to go from around the middle of your back down through to the top of your bum.

To start, go ahead and prep your bodice pieces, bodice linings, sew your straps and finish your darts.
Then, sew your front bodice to your back bodice pieces, leaving the center back (CB) seam open. Repeat with your bodice linings.
Baste your straps to your front and back bodice strap openings.

Feel free to try on your bodice just to see how it is hitting you. This will help to determine if you might wish to adjust your straps which is easier to do now than when the entire garment has been put together. Once you are happy with your strap length, put your bodice + linings aside.
Pocket + Pants Assembly
For the pocket and pants assembly, follow your instruction booklet until you have finished the step in which you have sewn your front crotch seam together and finished it.

Working with your back pant legs, we are going to do a few things differently from your instruction booklet.
To start, finish both of the crotch seams of your back pant legs.

Next, with right sides together (RST), place your two back crotch seams together, pinning from the bottom of the crotch through to the double notches. Sew this seam making sure to stop at the double notches.

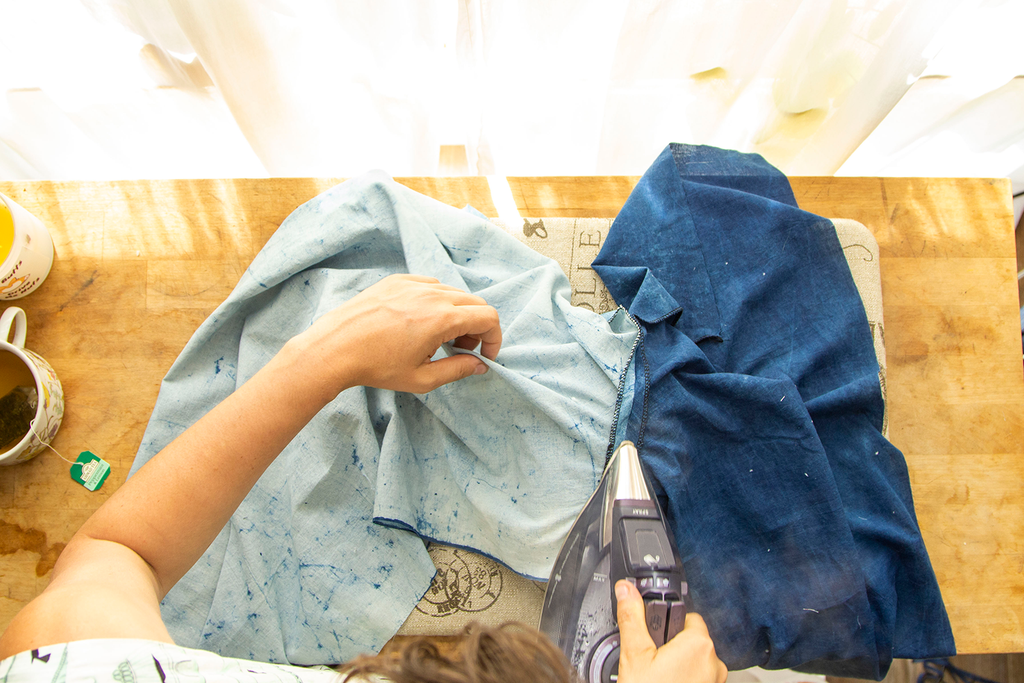
Press your crotch seam open. I like to do this on a pressing ham, especially for the curved portion as it's easier than trying to press it on a flat surface.


Finish attaching your back pant legs to the front pant legs as your instructions say to.
Attaching Bodice to Pants
Now it's time to attach the bodice! You will attach the bodice as normally instructed, the only difference is that there will be a center back opening. You will also not be finishing your seam as there is currently no bodice lining attached to your garment. Simply skip that part for now.


Feel free to take a quick break here -- you've accomplished a lot! Walking around, grabbing something refreshing to drink, or stretching are all good options to help refresh for the next little bit!
Once you have taken a quick break, feel free to try your jumpsuit on again just to see how it's fitting. If you need to, you can quickly adjust the straps now for the perfect fit!
Waist Ties + Casings
Now it's time for the waist ties and casing! Let's start with the waist ties. Instead of sewing the two pieces together to create one long waist tie, we will be creating two. To start, finish off one short end of each waist tie piece.

Now you can follow your instructions to finish off each of your waist ties separately. This includes folding your waist ties in half lengthwise and sewing along the long, raw edge.

Then trimming your seam in half.

And finally turning your waist tie out with a chopstick, your fingers, or a safety pin before pressing it flat!


Set your waist ties aside while you tackle the casings. Just like your waist ties, instead of sewing the two casing pieces together to create one long casing, we will be creating two. To start, finish off one short end of each casing piece.

Then, following the instructions in your booklet, you will create two separate casing pieces. These steps include ironing the unfinished short ends of your tie casings towards the wrong side by 1/2" (1,3 cm) and then another 1/2" (1,3 cm). Stitch the inner folded edge.

With RST, press the long edges of your casing in by 3/8" (1 cm) just as you might do if you were making bias tape.


It's time to officially sew your casing onto your jumpsuit! Starting with the finished end of your casing, line it up with the CB opening of your jumpsuit. Place your casing so that it is straddling the waist seam.

Pin your casing into place until you reach the edge of your patch pocket OR your waist notch if you opted for inseam pockets.


Edgestitch the top and bottom edge of your casings into place. Make sure you leave both short ends of your casing open for the waist tie.
To finish up your casing + waist tie you'll need to pull each waist tie through one of the casings using a safety pin.


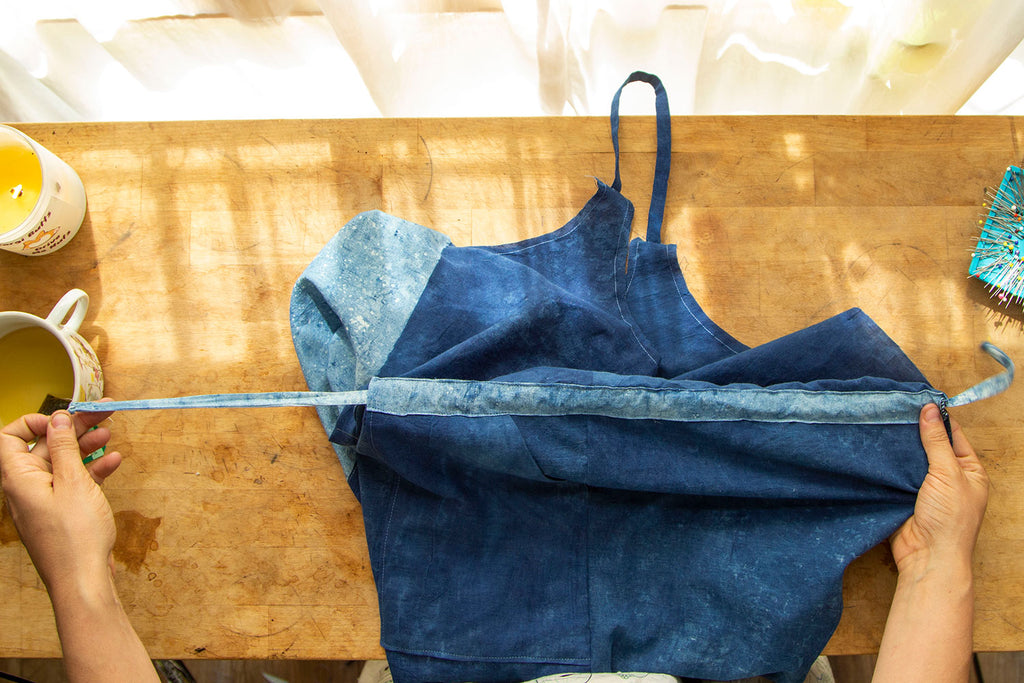
Pin your waist tie at the CB seam and baste into place so that it doesn't slip through the entire casing.

Finish the ends of each waist tie by tying them into knots.

WHEW! That was quite a bit, wasn't it? I think it's possibly time for one more break before tackling the zipper, lining and finishing touches of your jumpsuit! This kind of jumpsuit takes a lot more time than normal, so I hope you are taking care of yourself throughout this process!
Inserting Your Zipper!
Lay your jumpsuit in front of you so that the CB seam opening is facing you. With your zipper open, place one edge of the zipper tape along the finished CB seam edge.

Pin your zipper into place.


Make sure that you leave a small opening from the bottom of your zipper to where you stopped sewing your jumpsuit crotch closed. We need this opening for now to ensure a smooth finish at the end of the zipper.

With your zipper foot, sew your zipper in place as close to the zipper teeth as you can possibly get!
Before moving to the other side of the zipper, we want to make sure that your waist seams are matching perfectly. Close your zipper. On the unsewn zipper half, snip a tiny notch where the top edge of your casing hits the zipper tape.

Now you can pin your unsewn zipper half to the other side of your jumpsuit and sew it into place. Make sure you don't accidentally twist the zipper before attaching it (this part honestly always takes me a few minutes to ensure I don't do just that!).

Close up that little opening we left just below the zipper. Join the remainder of the CB opening, starting a smidgen below the end of the zipper and ending when you reach the stitches you made near the double notches.

**Quick Tip: I like to keep my zipper foot on my sewing machine to finish this bit up. I set my needle all the way to the right hand side and with my zipper foot attached, I am able to get REALLY close to the bottom edge of my zip without yelling at my machine for sewing together little puckers!
Now you can turn your garment right side out and admire your work for a bit. Go on, I won’t judge if you give yourself a high five!

We are nearly done! To finish up the jumpsuit, you need to add in the lining.
Adding the Bodice Lining
First, iron the bottom edge of your lining towards the wrong side by 1/2" (1,3 cm).
With RST, attach your bodice lining to your main bodice along the neckline, strap opening, under arm seams, and down the length of the zipper.


Note that you will be sandwiching your straps between the lining and main bodice and may have to wriggle it about when you sew that area.
Once the lining and the main fabrics have been sewn together, it is time to clip, clip, clip! Clip little triangles out around any curves, the strap points, and your neckline points. Be careful not to clip through your stitching line!


Turn your bodice right side out and understitch your necklines and underarms as far as you can.

Press your necklines and underarms for a crisp finish.
To finish attaching your lining, pin the pressed edge to the waist seam making sure you match up all the side seams with one another.


Carefully hand stitch your lining into place. You want to make extra certain that you don't accidentally sew through your casing and catch your waist ties in your stitches. If you do, you won't be able to pull your waist ties to use them!

Finishing Touches
We have officially made it to the end of this hack! To finish up your jumpsuit, hand sew a hook and eye to the top of your CB bodice opening. This isn't always necessary, but I always feel it adds a polished finish to the garment which I love!

All that’s left is to hem your garment and add an optional cuff if you would like. For instructions on these, refer to the Finishing Touches section of your instruction booklet
Et Voila! You have officially completed your zippered back Olive! I think that deserves a serious high five - you did it!


