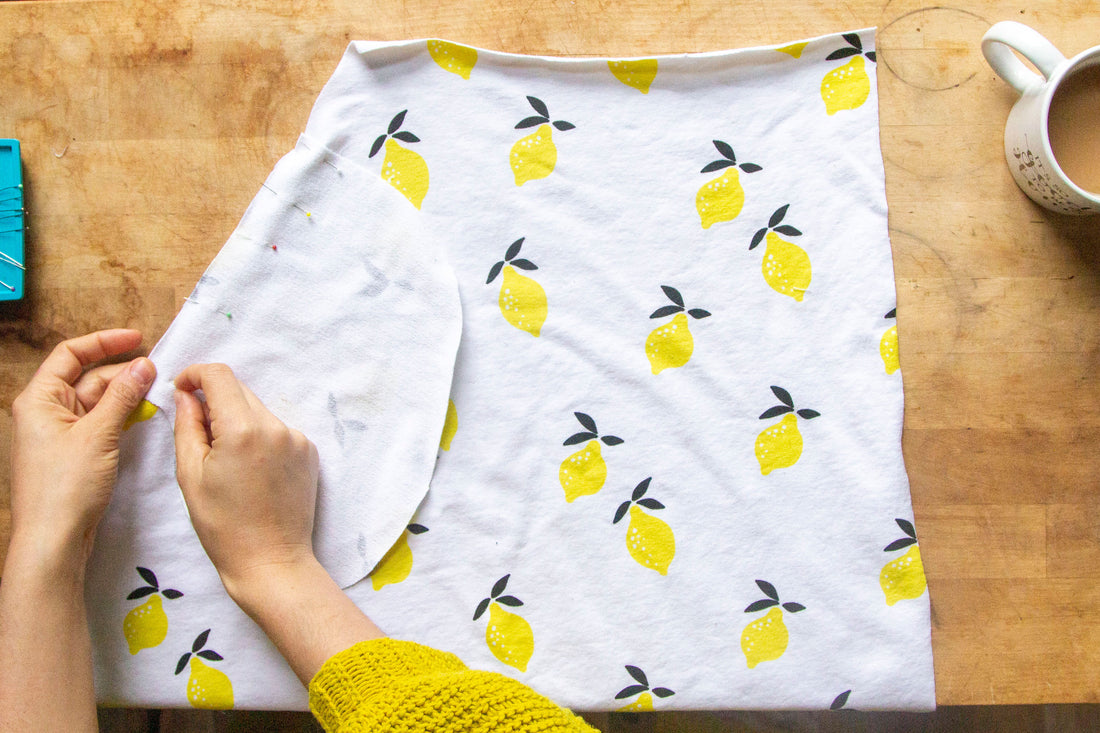
Today we are taking it a little easier and focusing solely on attaching the pockets the skirt pieces. I always enjoy having some easier paced days following / preceding difficult tasks as it still feels like you've accomplished something (woot!) but you aren't at risk of burning out tackling one tedious project after another.
So let's dive in!
With RST, pin the straight edge of your pocket pieces to the straight edge of your skirt side seams matching your notches.


Optional: If you want to add more structure and long term stability to your pocket to keep it from stretching out over time, you can add a strip of twill tape or clear elastic to your pocket right along the seam line!

Using a straight stitch, sew these pieces together. I used a zig-zag stitch on my sample, but that didn't add or detract from the fit. I just forgot to change the stitch on my machine!
Grade your pocket seams to help eliminate some of the excess bulk (especially if you added your optional twill tape!)


Press your seam allowance in towards the pocket and then understitch.


Repeat these same steps with the remaining three pocket pieces.
And that is it -- you are officially done for today! Tomorrow, we will be taking on sewing up the majority of the Mathilde skirt in Part 6 - Assembling the Skirt. See you then!

