
Yesterday you completely finished up the top portion of your Mathilde (yay!) so now it is time to start working your way down the rest of the dress, starting with the waistband and ties!
Let's start by grabbing your actual waistband pieces and work with one side at a time.
LEFT SIDE: With right sides together (RST), sew the front waistband piece to the back waistband using a zig-zag stitch. Make sure that the tops of your waistbands are all facing the same way. The top edges of your waistband pieces each have a single notch. Trim your seams and press towards the back.
RIGHT SIDE: With RST, sew the front waistband piece to the back waistband with a zig-zag stitch leaving the opening between your two notches free from stitching. You should now have a little hole that you can poke your fingers through!

DO NOT trim your seams. Instead, press your seams open.


Using a straight stitch, sew a small box around your right side opening to help hold those loose seams in place.
If you find that your fabric feels a bit flimsy or slippery, you can add a bit of twill tape between the seam allowance around the opening to stabilize it.

Set your waistband aside for now and grab both of your waist tie pieces.
With RST, fold your ties in half lengthwise (like a hot dog!) and sew along the long raw edge plus one of the short edges using a zig-zag stitch.


Trim your seams and clip your corners (without going through your line of stitching!).


Turn your ties out using a chopstick, rouleau turner, or even your fingers. Whatever you have on hand will work just fine! If you aren’t sure how to do
this, check out this mini tutorial!


Press your ties nice and flat, then grab your waistband pieces as we are about
to attach the two together!

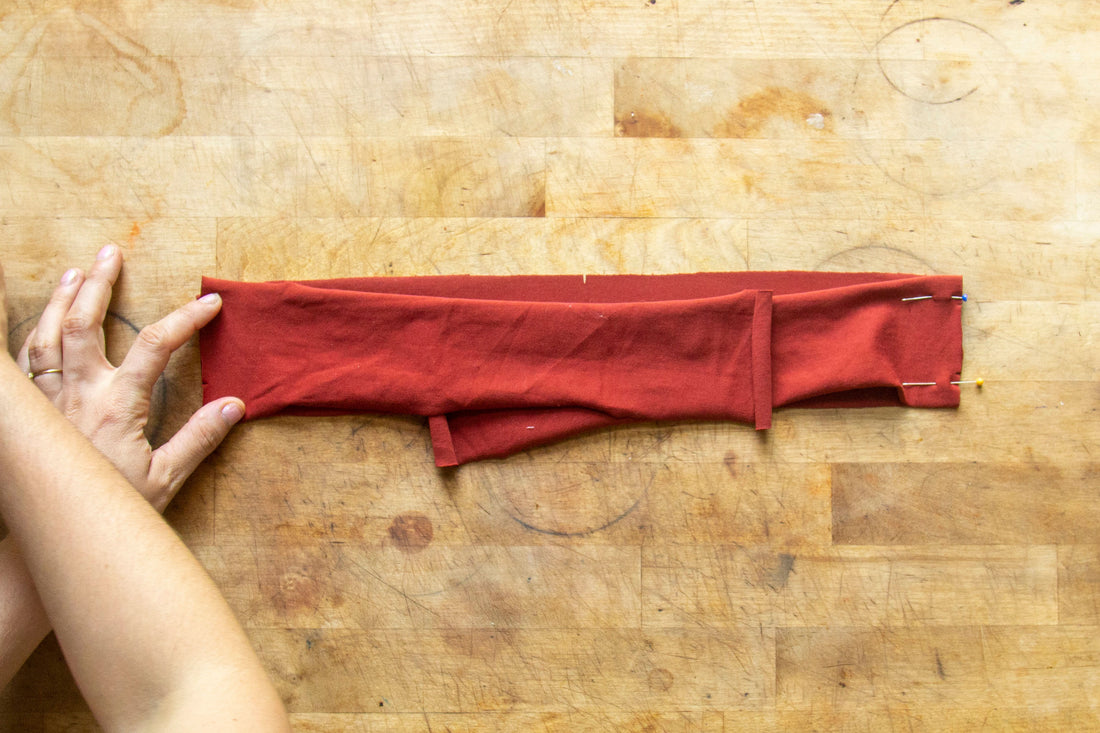
Pin the raw edge of your ties to the raw edge of your waistband. You’ll want to center the ties, leaving a little over 1/2” (1.3 cm) of space on either side of your ties. This extra bit on the top and bottom will be where you attach the skirt and bodice to your waistband. Using a straight stitch, sew in place.

NOTE: I like to have my tie seam pointing downwards. I am not sure why, but I just really like the way it looks and feels to have the seam edge facing the floor. You will know that it’s the bottom edge of your waistband because there will be 6 notches along the edge.
And you are officially done for today! Next up, you will be tackling Part 5 - Assembling the Pockets because pockets are the best and need to be added to everything!