

After today, your dress is practically complete! I mean, we will still need to dot a few i's and cross a few t's and attach some buttons and whatnot. But today is the first day where your garment will look like a nearly completed dress!
With RST, pin the front skirt piece to the front interfaced waistband, moving the non-interfaced waistband out of the way. Make sure your CF notches are matching and the edge of the skirt’s placket is at the corner of the waistband.


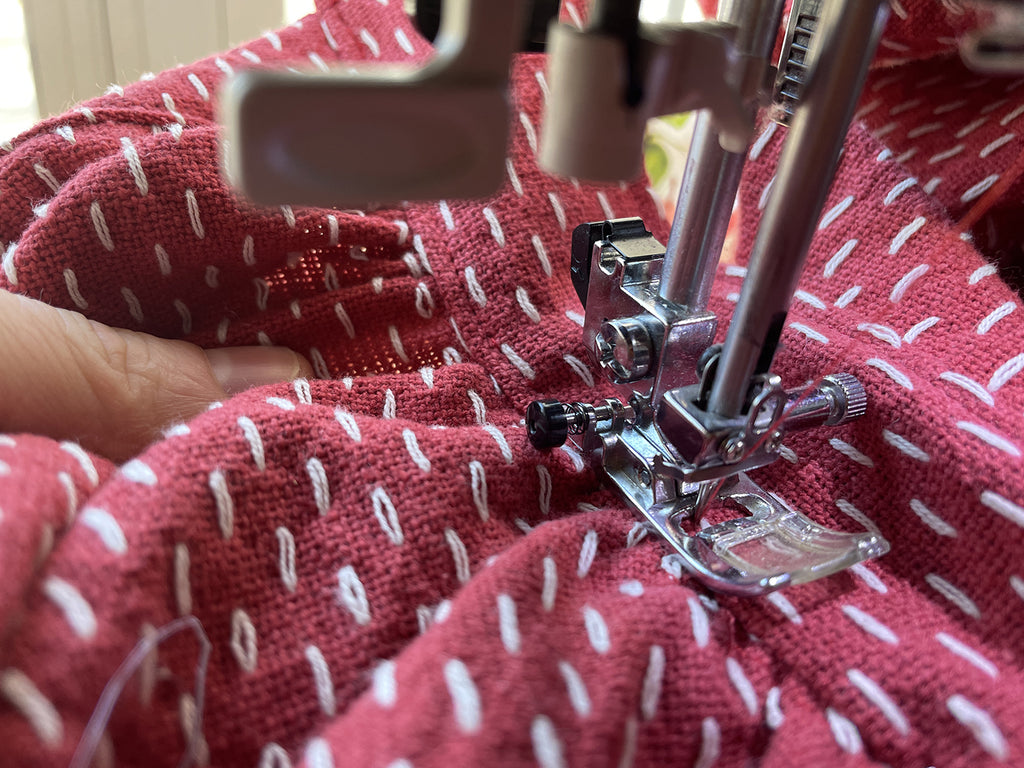
Adjust your gathers so that they are evenly distributed and then sew your skirt to your waistband. Make sure that you aren’t accidentally catching the waistband “lining” when you sew this portion.


Grade your seams and press them up towards the waistband.


If you have any basting stitches peeking through the front side of your skirt, go ahead and pull those out!
Turn your waistband “lining” under 1/2” (1.3 cm) and pin in place, making sure to hide all of your raw seams inside the waistband.


From the right side of your garment, topstitch along the bottom edge of your waistband to complete the look.

EEEP! You are so close to having a fully finished Dress! Are you so excited? If you are ready to dive in, Part 10 - Finishing Touches is ready and waiting!