

Oh goodness, I wasn't sure which section to put this blog post under: Tutorials or Sustainable Living. I opted to put this post under Sustainable Living simply because it is a post all about utilizing your fabric scraps to add beauty to your home or as a gift for others!
I have wanted to create these mini pumpkins for the longest time! I am someone who really loves holiday decorations, but I cannot bring myself to purchase them at the store. I just feel too conflicted over purchasing items that I do not need, and that ultimately are a bit wasteful. That's not to say that I look down on anyone who does purchase such items - if they add value to your life, that is amazing! I just personally cannot get past my own hangups.
That being said, when I come across an idea online that allows me to use what I already own to create some fun decor, I am 1000% in! Just hand me my scissors and some fabric, and I am rearing to go! Combining low waste + holiday decor is like a dream come true for me and it relinquishes my guilt over decorating because I am using what is already available to me. Plus it gets rid of items that I have equal guilt over tossing in the trash - eeep ! I am just surrounded by eco-guilt, aren't I?
Luckily, this DIY is one of many that puts my mind at ease and provides me with a fun activity to do when the weather is poor or I have a few spare moments of time between bigger projects. I hope you find as much joy in this DIY as I have!

Supplies
You will only need a few items for this project:
- Fabric - Knit or Woven will work well for this project!
- Ruler
- Marking Tool (Chalk, Pen, Pencil)
- Scrap Fabric (Various Sizes)
- Fabric Scissors
- Hand Sewing Needle + Thread
- Embroidery Needle + Matching Embroidery Thread
- Smaller bits of scrap fabric OR batting (AKA Stuffing)

This project is one that can be entirely hand sewn or you can utilize a sewing machine to speed the process up. I will be showing you how to hand sew this project. For some reason, when the weather starts to turn cool, I get all cozy into my hand crafts and let my machine take a little break. There is just something super lovely about hand sewing in the fall and winter, or is that just me?
Let's get started!
There are SO MANY different fabric pumpkin tutorials online and they are all so different! I had loads of fun perusing some of them as I gathered inspiration for this tutorial. Here you will find all of my favorite ideas mashed together for this DIY post!
The first thing we are going to do is mark our pattern onto our fabric. Depending on what size you wish your pumpkin to be, you will need to mark your fabric according to the measurements below:
- Mini Pumpkin : 5" x 9" (12,5 cm x 23 cm)
- Small Pumpkin : 7" x 11" (18 cm x 28 cm)
- Medium Pumpkin : 9" x 13" (23 cm x 33 cm)
- Large Pumpkin : 11" x 15" (28 cm x 38 cm)
- Jumbo Pumpkin : 13" x 17" (33 cm x 43 cm)

 I am creating a large sized pumpkin!
Once your fabric is marked, you can then cut it out.

Don't forget to cut out a little stem as well! You can draw this freehand (I just created a little rectangle for mine), just remember to include at least 1/4" (0,6 cm) seam allowance!

Or, you can play around with using found objects for your stem. I have found cinnamon sticks and broken twigs to be the best objects for stems - plus if you use a cinnamon stick, you have the added bonus of yummy fall scents sprinkled throughout your home!
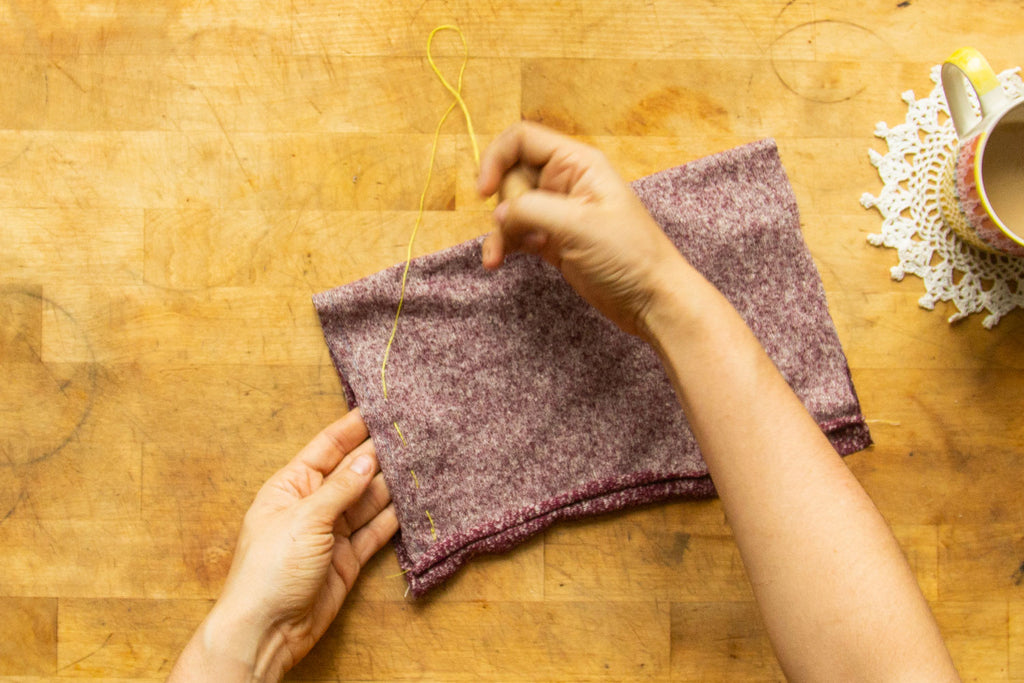
With right sides together (RST) fold your fabric in half, matching short end to short end.


Sew your short ends together using a 1/2" (1,3 cm) seam allowance. This can be done with a hand sewing needle and thread or on a machine.


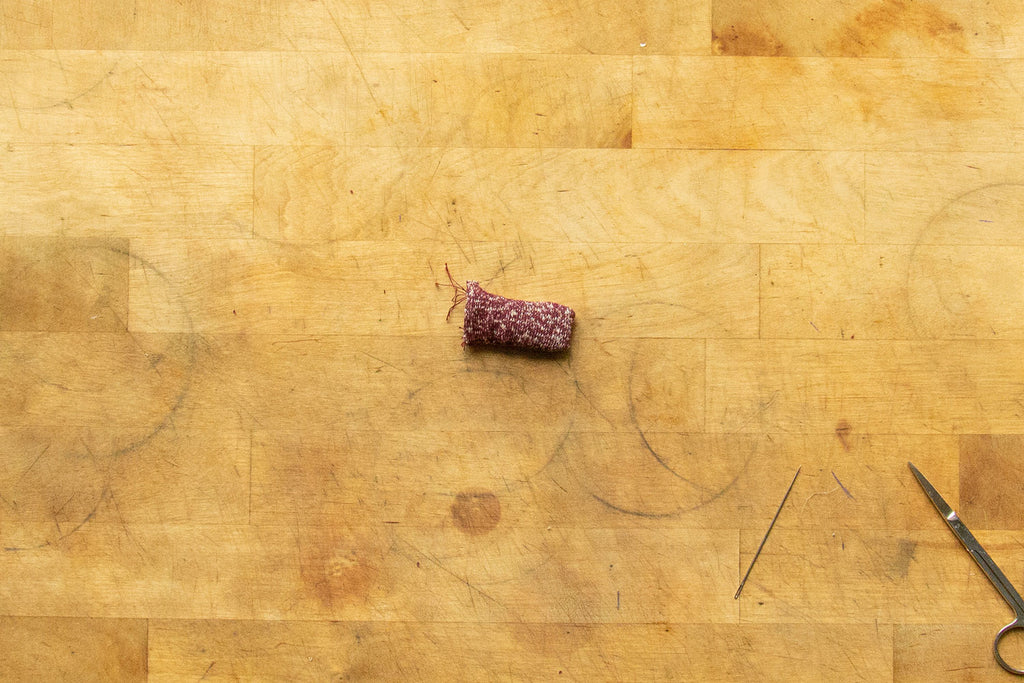
Using a hand needle and thread, sew a long running stitch around one of the open edges.

Pull your thread so that it gathers the bottom edge. You'll want to pull your thread gently so that it doesn't break.


Once you have closed the entire opening, sew a few stitches to secure your threads and then tie them off.
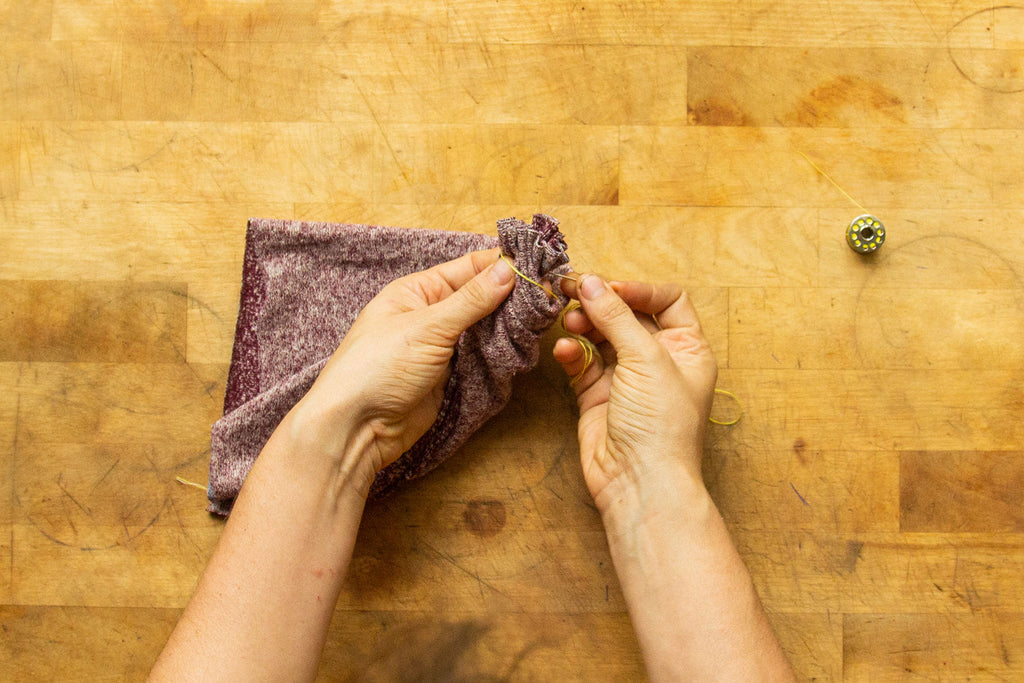

Flip your pumpkin right side out. Check the bottom edge of your pumpkin to ensure there is no opening and that you like the look of your gathers.


Now is the time to stuff, stuff, stuff your pumpkin! You can use small fabric scraps or batting for this part. I like using fabric scraps as it helps to get rid of some of the smaller bits I never know what to do with as well as adds some good weight to these small pumpkins!
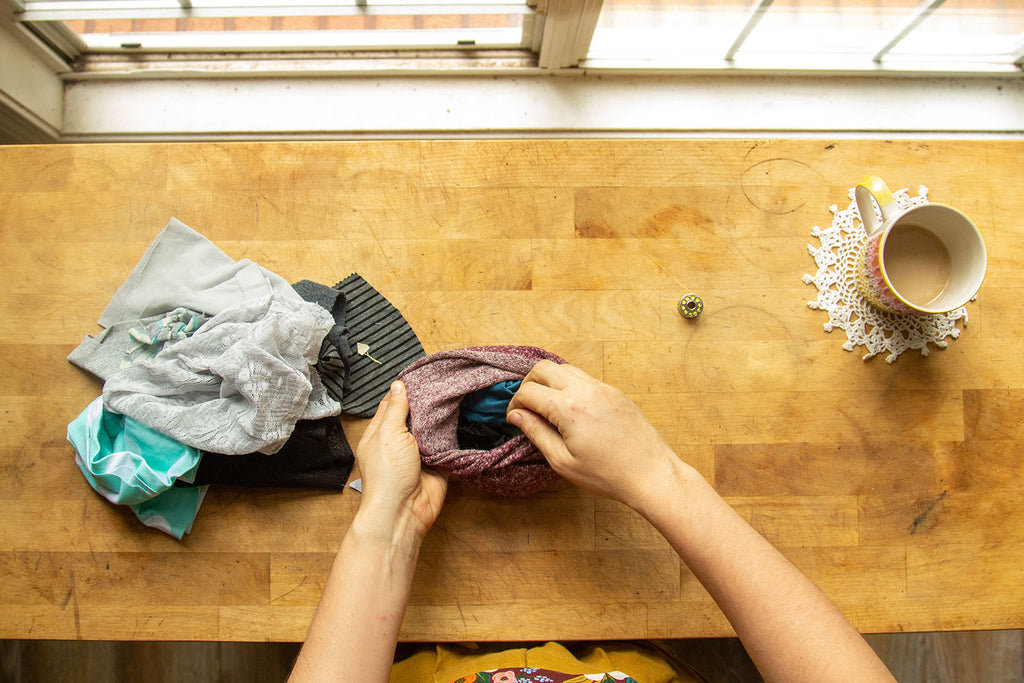 If you are using a knit fabric, you have to be careful not to over stuff your pumpkin! Otherwise it might get a bit lumpy.
Once you have stuffed your pumpkin until you can stuff it no more, grab your embroidery needle and thread and sew around the top opening.


Gently pull your threads until the opening gathers and closes.


Tuck any excess fabric towards the inside of the pumpkin.
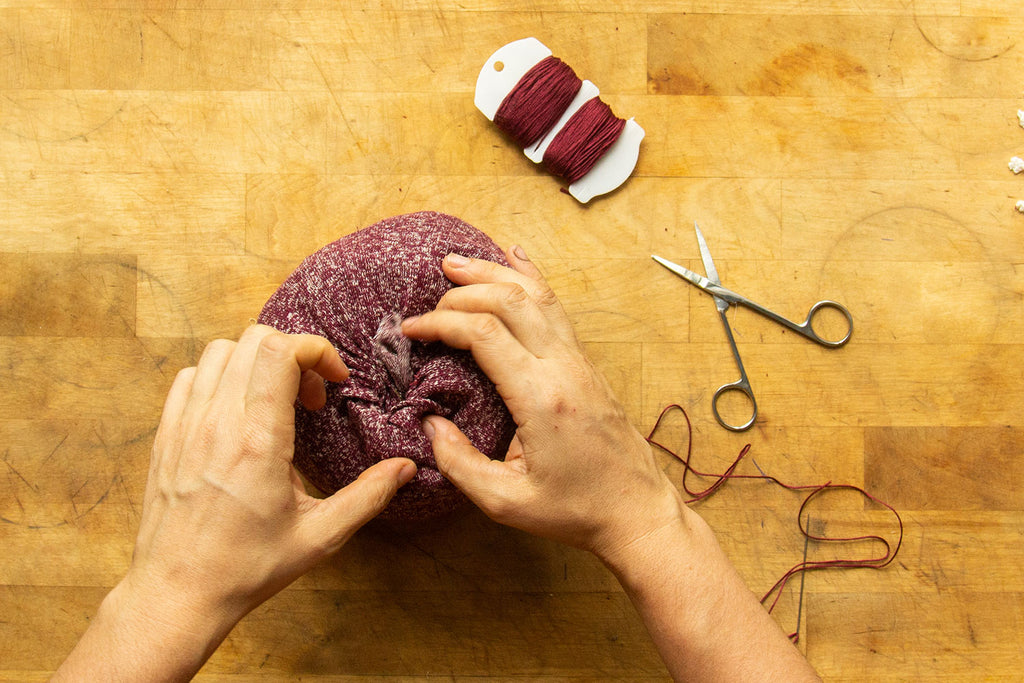
Secure your thread and then knot it.

*Note: If you were planning on using a cinnamon stick or twig for your stem, you will want to set that into the center of your pumpkin prior to cinching the top opening closed.Or just don't close it up too tight. Instead, leave a small opening where you can slide your cinnamon stick/ twig through.
If you would like to add some extra definition to your pumpkin, you can do so by threading your needle with a thicker thread (or embroidery floss) and then pulling your thread through the core of the pumpkin and around the outer edges several times to create ridges.


 If you are working on a large pumpkin, I find it easier to pull the floss around the outside of the pumpkin rather than through it as that uses a LOT of thread and it can be a challenge to get your needle out the other end!
Continue until you have your desired amount of ridges complete.

Finally, it's time to add your stem if you opted to create one from fabric! With your stem piece RST, sew along the outer edge at 1/4" (0,6 cm) seam allowance.


Turn your stem right side out and stuff it with more fabric scraps or batting.

Stitch the open end of your stem to the top side of your pumpkin.


If you opted to create your stem from a cinnamon stick or twig, simply push the center of your pumpkin open and gently wiggle your stem into place. If you are nervous about it falling out (or if you have children who might pull it out!) you can secure your stem with a dab of hot glue.


Et Voila! You now have a lovely pumpkin (or dozen!) to decorate your home each fall! These make wonderful gifts as well and can be a great activity for children to partake in. Perhaps you can get your entire family involved in making these to give away as presents or to decorate your home every fall.


Whether you partake in this project alone or with loved ones, I do hope you enjoyed sewing this mini scrap buster up - I know I did! And I loved seeing all of my scrap fabrics get put to good use.

