

Welcome back to the Olive Hack: Button Up Top (Part 2)! In Part 1, we managed to alter our Olive Jumpsuit pattern pieces and began prepping the bodice pieces for sewing. In part two, we will dive in to prepping our button loops and sewing them on to our right bodice, working on our interfaced facings, and simply finishing up our tops. Are you ready to get started?
PREPPING THE BUTTON LOOPS
To prep your button loops, you will essentially need to make some 2" (5 cm) wide bias tape using the offcuts of your pattern. If you have never made bias tape before, you can follow along in my tutorial HERE, making sure to stop when you reach this image with my half eaten cookie:

It is totally ok if you have a LOT of bias tape - Better to have too much than too little.
Once you have one long continuous piece of fabric, it's time to create your button loops! To start, fold your bias tape in half lengthwise with the right sides together (RST). Pin along the raw edges and then sew using a 1/2" (1,3 cm) seam allowance.

Trim your seam in half.

Turn your sewn bias tape right side out using a safety pin, strap turner, or chopstick - whatever works best for you!

Then press your bias tape along the seam.

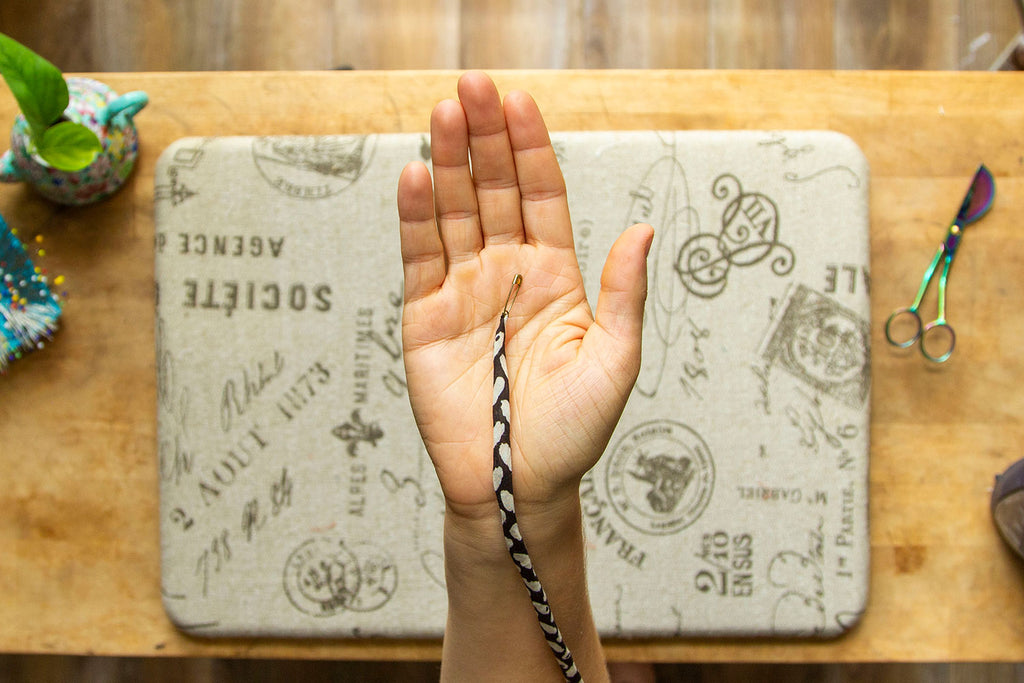
To determine how long each loop must be cut to accommodate your buttons, you will need your actual buttons!

Now, I don't know if this is the most accurate way of gauging the loop size for this sort of button hole contraption, but it's the only way I know. So if you have a better method, I am all ears!
Take your pressed bias tape and loop it until it looks to be roughly the size of your current buttons.


Overlap the two ends and pin them in place.

Next, test to see if your button will easily slide through you mock-button loop. Does it go through too easily? Or is it too small of an opening for the button? Adjust your loop until the button slides through the opening yet feels secure. If you are unsure, err on the side of too small - I know this sounds counterintuitive, but hear me out! Your bias tape is cut and sewn on the bias, so it naturally wants to stretch and will do so over time.
I wound up cutting my loops too large and having to sew a straight seam through each button loop in order to keep my buttons from popping open!

Once you are happy with the loop size, it's time to cut your first loop, making sure to add 1/2" (1,3 cm) below where you pinned for seam allowance. The size of this loop will help to determine w to cut the remaining loops.

Unpin and measure out your first loop. This will be the measurement that you will use in order to cut your remaining loops from your long strand of bias tape.

ATTACHING THE BUTTON LOOPS
Now it is time to attach your button loops to your right bodice pattern (the one where you added only 1/2" (1,3 cm) to the CF seam). Before attaching your loops, however, I find it best to mark exactly where each loop is going to go first.
To do this, place your bodice piece face up with a ruler or tape measure parallel to the CF seam.

With a marking tool, begin by marking a line 1/2" (1,3 cm) from the neckline edge along the CF seam. This is where your seamline joining your facing to your bodice will be.
Next, mark your first button loop line 1/2" (1,3 cm) below your first marked line.

For all remaining button loops, mark them 1" (2,5 cm) apart, stopping when you have either a) run out of fabric for your button loops, b) when you feel you have enough buttons for your tank or c) when you reach 1.5" (3,8 cm) above your hemline.

Now that your button loop placements have been marked, it's time to start pinning your button loops to your top! Working with one loop at a time, pin one short, raw edge of the button loop to the CF seam along the bottom of your marked line.


Next, turn your loop so that the second small edge lines up with the raw edge of the CF seam along the top of your marked line.


Continue pinning all of your button loops along the CF seam in the same manner.

Once you have all your button loops pinned in place, baste them to the CF bodice and remove your pins.

Woohoo! I think all that hard works deserves a high five and a break! When you are ready, we will begin the process of putting together our tank + facings and then wrapping this project up!
SEWING THE TANK + STRAPS
Going back to our original Olive Instructions, we are now going to attach the right sides of the front + back bodice pieces together along the side seams. Finish your seams using your preferred method.
Press your seams to the back of your garment and then flip your top so that the right side is facing you.

Pin, then baste your straps in place following the written instructions of your pattern.

SEWING + ATTACHING THE FACINGS
For your facings, you will first need to interface the wrong side of your fabric. Then, with right sides together, pin your front and back interfaced facings together along the side seams.


Sew these seams together and then finish them using your preferred method. Press your seams towards the CB.

I didn't manage to snag a picture of this next step, but you will want to finish the one continuous inner seam of your facing at this point (the part that doesn't get sewn to the neckline/ underarms of your top). You can do this by using a zig-zag stitch, attaching some bias binding, or serging the raw edge!
Now it's time to attach your facing to your top (yay! Can you see the finish line?). With right sides together, pin your facing to your top making sure to match up the CF edges, side seams, and tucking in the button loops + straps so that they aren't caught in a funny way along the edge where you will be sewing.


Using a 1/2" (1,3 cm) seam allowance, and starting from the short edge of the bottom of the facing, attach your facing to your tank all along the raw edge.

Trim your corners and along your curved edges making sure you don't cut through your stitching.


Turn your facing right side out and understitch along the edges of your CF opening, necklines, and armholes as far as you can go. This is an optional step, but it really does make a difference in allowing your garment facing to stay fully hidden towards the inner garment.


Finally, press your CF openings, armholes, and necklines so that they have a beautifully crisp edge!


FINISHING TOUCHES
YAY! We are now on to the finishing touches which include two items: 1) The Hem + 2) The Buttons.
The hem is super easy - all you need to do is turn your bottom edge up 1/2" (1,3 cm) and then again 1/2" (1,3 cm) and then sew along the upper inner edge, just as you would any other turned hem.
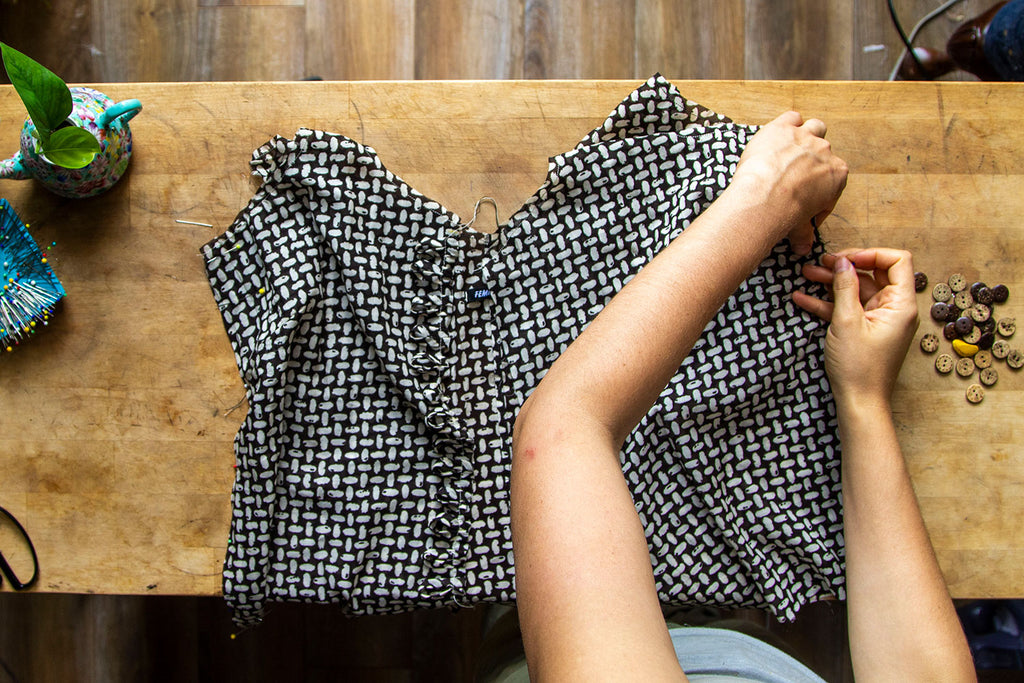
For the buttons, the trickiest bit is placing them correctly. I found that if you fold your top in half, with right sides together, matching up the side seams, you could easily mark where the buttons should be located.


Simply pull one button loop back toward the inside of the garment and mark right along the CF edge in the center of the loop. This is where your buttons should be located on the left bodice.


Now all that's needed is to sew all of those buttons on!
Et Voila! You have officially completed your Button Up Olive Top! It's been a long process, but totally worth it, right?


