

I seriously need to get better at saving the original inspiration for these posts. I always see something on IG or Pinterest that sparks an idea and then I forget where I originally saw it. *sigh* I promise I will get better at this! For now, here is another image that reminds me of the original image I saw that inspired this particular hack:

Image via ArthurApparel.com
Basically, I was inspired to hack the Olive Jumpsuit into a tank top with a loop button placket down the front of the top. This sounds/ looks deceptively simple, right? It actually took me a bit of time to figure out. I guess I could have made the entire process much more simple if I had chosen to do a "faux" button look. But I have been really interested in slow, deliberate sewing and playing around with details, so this project is a bit more time consuming to complete, but oh-so-worth-it!
Let's Get Started!
For this hack, you will need the Olive Jumpsuit, Olive Dress, or another similar tank-style pattern. We will only be working with three pieces for this project (though we will be adding more!). Those pieces are:
- Front Bodice
- Bra Friendly Back Bodice
- Straps
PICKING A SIZE
First things first -- if you are using the Olive Jumpsuit or Dress for this hack, you may find that sizing down is helpful. The original pattern was designed to comfortably slide on and over over your hips, so there is a LOT of ease in the bust and waist to accommodate that particular action.
With a tank top, though, you don't need quite so much ease. With your bust measurement in hand, take a look at the finished garment measurements of this pattern and choose the size that is roughly 3" (7,6 cm) larger than your actual bust measurement. This extra 3" (7,6 cm) is the wearing ease of your garment which helps to make it more comfortable to wear. To find out more about wearing ease, check out this blog post by @winmichele.
For example, my bust measurement is 35" (89 cm), so I would opt to make a size B in the Olive which measures out to be 38.75" (98 cm), which is a little over 3" (7,6 cm) larger than my original bust measurement.
Alright, once you have your new size picked, it's time to trace your pattern pieces onto new paper! Cut out all of your pieces except for your front bodice piece. This is the one we need to do a little bit of work on!
ADJUSTING THE LENGTH
To start, make sure that your tank is the right length. The Olive was designed to hit right at your natural waist, but to me, this is a bit too high for a tank top. I personally love having my tanks hit me right at the hip bone. To figure out how much length is needed to hit your hip bone (or wherever else you might want your tank to hit!) begin by measuring yourself from your apex point to your ideal hem length.

Take this measurement and add 1" (2,5 cm) for your hem allowance. Starting at the apex of the pattern, measure down to this new measurement.

Draw a new line that runs parallel to the original hem.

Connect your new hem to your center front and side seam lines, making sure each intersects at a 90 degree angle (for a more "swingy" top, your side seams can connect at a slightly acute angle.)
Finally, don't forget to add the same length you added to the front bodice (along the side seam from old hem to new hem) to the back bodice as well.
REWORKING THE FRONT BODICE
Now we need to adjust your piece so that it can support the buttons + button loops! To do this, trace your front bodice piece twice.
Set one of them aside for now while you work on the other. Fold your tracing paper along the Center Front edge so that the extra tracing paper is now lying on top of your front bodice piece.

Next, measure and mark a line 2" (5 cm) away from the center front edge.

Trace along the bottom hem of the tank as well as the original neckline so that the mark you made now connects to the center front edge.

Unfold your pattern piece and press it flat with your fingers. We aren't quite done, but I promise we are getting there!

Starting at the center front of your neckline edge, use a ruler to draw a line connecting the neckline to the extension piece you drew earlier. You should be left with a little triangular piece sticking up - we will be cutting this piece off when we cut out our new pattern.

Speaking of which, let's cut around our new pattern piece!


The final steps for this pattern piece will be to update the pattern information on the front. The following bits will need to be changed:
- Cross out "Cut 1 fabric on fold + 1 lining on fold" and replace with "Cut 1 Fabric Face Down"
- Cross out "Center Front, Place on Fold" and replace with "Fold Line"
- Label the extension piece as "Left Button Front Extension"

Awesome! One of your two new front bodice pieces is complete! Feel free to take a mini break here as you've just accomplished quite a bit. It's the perfect time to stretch and grab a glass of water.
Once you are back from your mini break, it is time to tackle that last bodice piece you set aside earlier!
Along the CF bodice, simply add 1/2" (1,3 cm). Be sure to connect this new seam allowance to the original pattern piece.

Cut out your pattern piece and label them like so:
- Cross out "Cut 1 fabric on fold + 1 lining on fold" and replace with "Cut 1 Fabric Face Up"
- Cross out "Center Front, Place on Fold"
Fantastic! There is just one more piece we need to create and then we are DONE with adjusting the pattern and can get to sewing.
On a scrap piece of tracing paper, trace the Left Button Front Extension piece and label it with: "Cut 1 Interfacing."
CREATING FACINGS
The final step needed before you can officially dive in and begin cutting out your fabric is to create facings for your new tank. This part is super simple - all you need is a bit of tracing paper and all your bodice pieces, both front + back.
For your two front bodice pieces, begin by marking a line approximately 3" (7,6 cm) down from the underarm.

Next, mark a line along the hem line 2.5" (6,4 cm) from the CF edge.

Connect your underarm line to your hem line with a curved line. This is one of those things that you can freehand!

Label each facing piece so that you don't get them mixed up before moving on to the back bodice. Make sure to add Cut 1 Interfacing for each of your front facings.

With your back bodice, mark a line approximately 3" (7,6 cm) down from the underarm.

Next, mark a line 3" (7,6 cm) down from the CB neckline.

Connect these two lines with a gentle curve and VOILA! You have successfully created all of your garment facings.


Now that you have all of your pattern pieces altered and ready, you can go ahead and cut out your fabric!
PREPPING YOUR BODICE
To start, you will need to prep your bodice in pretty much the exact same way as outlined in the original Olive Jumpsuit instructions. This includes:
Basting your necklines and armholes.
 I apologize for the terrible fabric choice as it doesn't show stitching very clearly.
Sewing your bust darts.


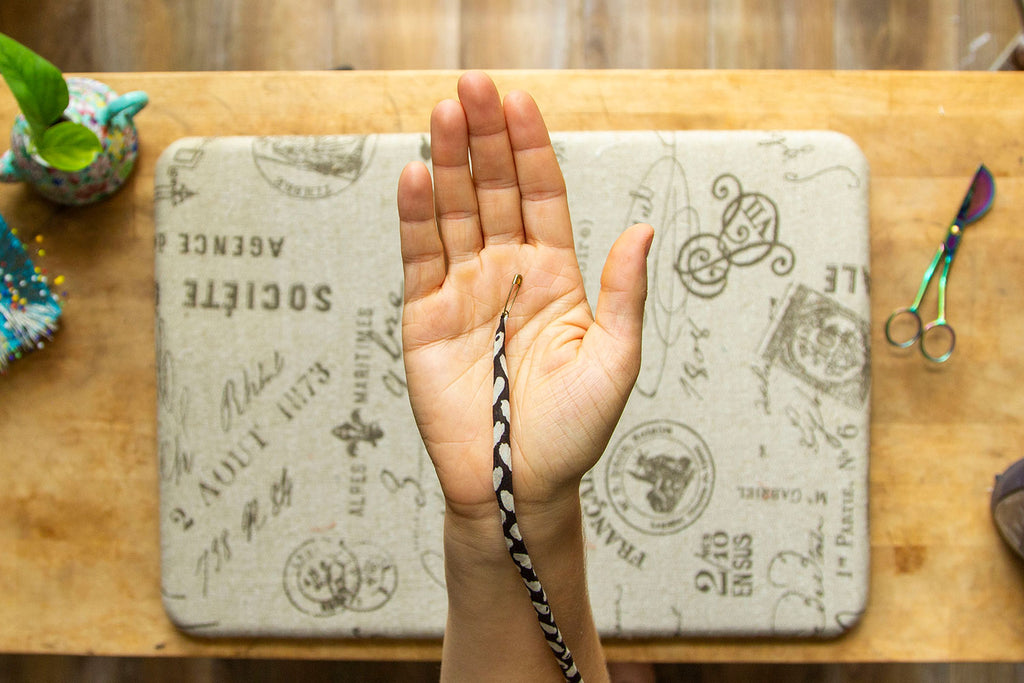
Sewing, trimming, turning and pressing your straps.


In your instructions, you would then move on to attaching your front and back bodice pieces together along with adding your straps to your bodice, but we will be taking a slightly different approach. We will be diving in to prepping the button loops for your right bodice piece in Part 2 of this Olive Hack!