
Sewing a ruffle isn't a super difficult task. It only requires a few stitches. What is challenging about today, however, is just how long it takes to gather that ruffle! So I hope you have some coffee or tea at the ready as we dive into this portion of the project!
With RST, use a zig-zag stitch to sew your two front ruffle pieces to your two back ruffle pieces along one of the short edges. Then sew your two back ruffle pieces together with RST. Trim your seam and press it towards the front.
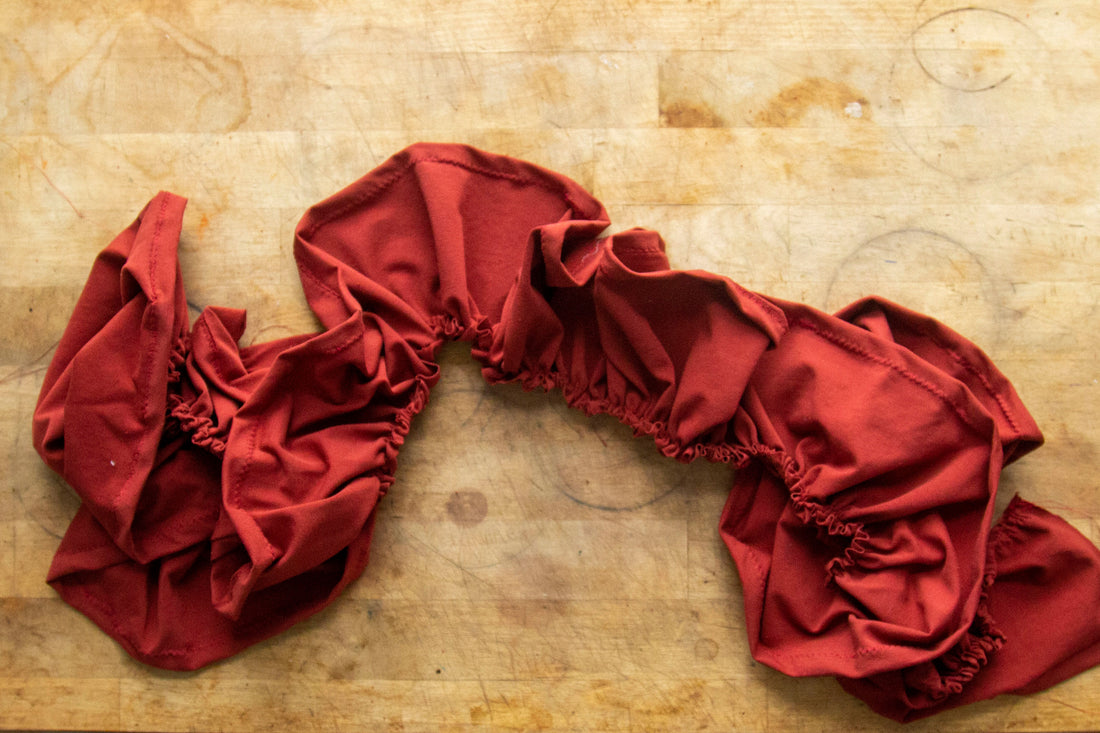
 I only wound up having enough fabric to cut 3 of the 4 ruffle pieces, so my finished ruffle wasn't super frilly.
 I only wound up having enough fabric to cut 3 of the 4 ruffle pieces, so my finished ruffle wasn't super frilly.
Press the bottom edge of your entire ruffle hem 1/2”(1.3 cm) up and sew it in place using either a zig-zag stitch or a fancy twin needle!

Alrighty, you are about to embark on a whole lot of ruffle! If you want, now would be a good time to recharge before diving in to this massive task. Feel free to get up, walk around, grab a nice tall glass of something refreshing, and then come back when you feel really amped up!
We are now going to dive in to creating some beautiful gathers for our ruffle piece. If you are more of a video learner, I also have this quick video post about sewing gathers!
Without backstitching, use a long straight stitch to sew 1/4” (0.6 cm) along the loooonnggg raw edge of the ruffle from one short side to the other.

Sew a second line of long straight stitches 3/8” (1 cm ) from that row of stitches. Be sure to leave a nice long thread tail on either end of your stitching.
Pull lightly on the bobbin threads from one side of your ruffle to help gather it.


Don’t worry too much about how gathered your pattern piece is — we will adjust those gathers once we get to attaching the ruffle to the skirt.

With RST, pin your ruffled piece to the bottom edge of your skirt. Make sure you match your side seams and your CB seam to your CB notch on the skirt. Sew into place using a zig-zag stitch.


Grade your seam (it will be quite bulky!) and then press it upwards towards
the skirt.
Whew -- you made it! Congrats on attaching that massive ruffle to your skirt! I hope you are able to rest up in preparation for tomorrow's steps: Part 8 - Putting it all Together.