
You are only two posts away from having your very own Mathilde Wrap dress - that means it is almost time to celebrate!
Today we are going to finish up the biggest part of the Mathilde which is putting our bodice, waistband, and skirt pieces together! Once today is over, you will be able to at least try on your dress and feel super proud of all you have accomplished! And then tomorrow, you can focus blissfully on those little finishing touches.
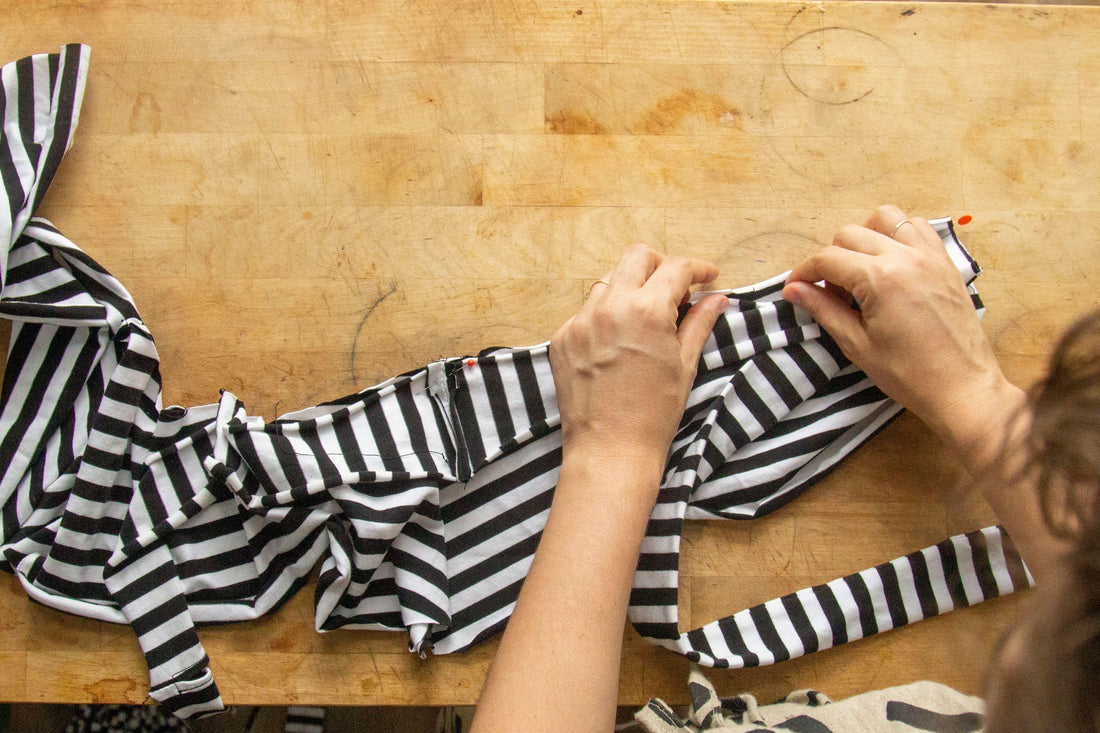
With RST, pin the bottom edge of your waistband to the top edge of your skirt. You will know that it’s the bottom edge of your waistband because there will be 6 notches that will match up to notches on your skirt pieces as well.


Using a zig-zag stitch, sew your waistband to your skirt.
Grade your seam (especially around the part of your waistband with the little opening for your tie) and then press them upwards towards the top edge of your waistband.

Now that your skirt and waistband are one complete piece, you will want to finish up the skirt opening before attaching it to your bodice pieces.
I accidentally did these steps out of order, so I will share photos from the knee-length sewalong of this step.
Press your skirt opening back by 1/2” (1.3 cm) and using a zig-zag stitch or your fancy twin needles, sew your pressed seam down. Make sure you are starting from the top edge of your waistband, catching the seam that is holding your ties in place, and continue all the way through to the skirt hem.


Now it is time to attach the bodice to the rest of your garment — yay!!
With RST, pin the top edge of your waistband to the bottom edge of your bodice. The top edge of your waistband will have 3 notches that will match up to the CB and CF notches of your bodice. Don’t forget to line up your side seams on your waistband with the side seams on your bodice as well!


Please note that your that your bodice neck opening may extend a bit past your waistband -- that’s ok! This extra bit is just the seam allowance and will be hidden once sewn into place and pressed!

Using a zig-zag stitch, sew your waistband to your bodice.
Grade your seam (especially around the part of your waistband with the little opening for your tie) and then press them downwards towards your waistband.
Oh my goodness, you can now OFFICIALLY try on your Mathilde and do a little twirl or two! After such a long list of tasks today, tomorrow will be focused on Part 7 - Finishing Touches.