

Over the past few days, we have managed to work on our straps and our bibs. Now is the time to attach those to our waistband pieces before setting them aside for a bit to focus on our skirt.
Flip to page 40 in your instruction booklet as we get started on finishing up the top half of our pinafore.
Working with one bib and waistband at a time, sandwich your front bib in between your interfaced front waistband and non-interfaced front waistband.
The layers should go like this on the table in front of you:
- The right side of the non-interfaced front waistband facing up (or lining fabric if you are like me and cut half your waistband from lining material!)
- The right side of the bib on top of the non-interfaced waistband, also facing up
- The right side of the interfaced waistband touching the right side of the bib


Sew along the short edges and long straight edge, starting and stopping at the dots.

Grade your seams and clip your corners to reduce bulk at your waist!


Turn your waistband out and press it downwards. ( You will notice that I started taking pics of my back bib for this part. I work on photos over several days and sometime I forget what I was photographing last- eeep!)


Now, this next part is totally optional and not completely necessary. However, it will make inserting the skirt to the waistband easier in the coming days. I am demonstrating on my tie strap pinafore.
Flip your bib over so that the lining is now facing you and open your waistband up so that you can see the inner seams.
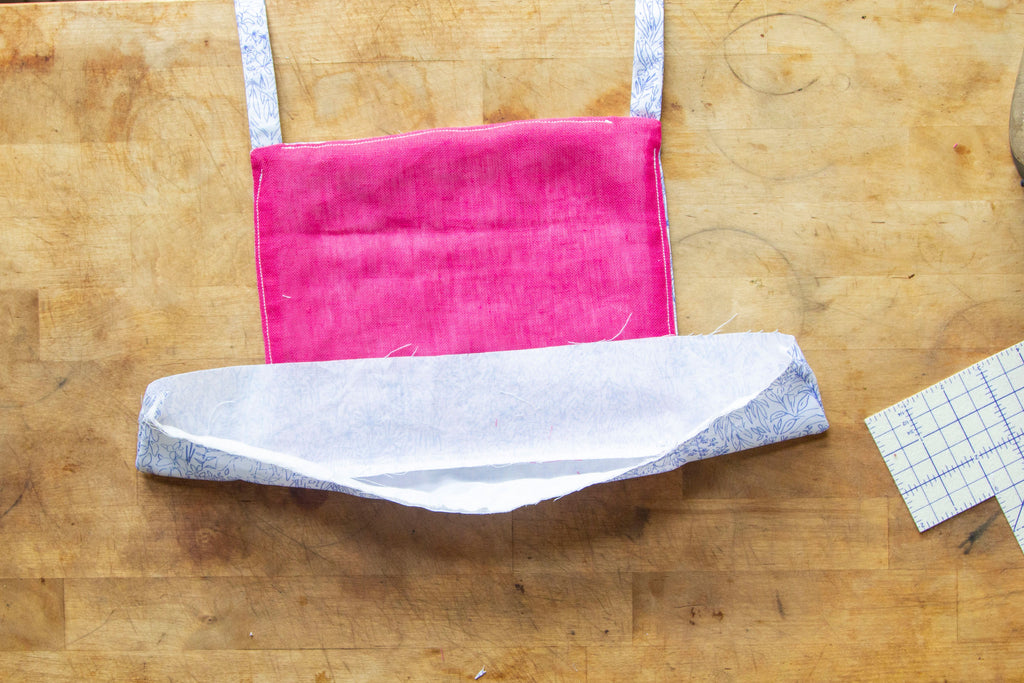
Working with the non-interfaced waistband only, fold the raw edge of the waistband in by 1/2" (1.3 cm).

Press that entire edge down.

The long edge of your inside waistband should now be pressed up 1/2" (1.3 cm) whereas your front waistband edge remains untouched. This additional pressing will help when we go to hide all of our gather skirt edges into our waistband in the coming days!

Repeat all of these steps with your back waistband and bib (if you didn't do them simultaneously like I did).

Once you have completed both of your waistband/ bib combos, we will jump in to Part 5 - Pocket Assembly!