

I don't know why I hadn't thought of this hack sooner. It wasn't until I was searching for an apron pattern to make for my friends for the holidays that it even dawned on me to try! I mean, the Fleur Pinafore is so perfect to create an apron from, right? And I was so happy with how both my friend's pinafore's turned out that I decided to make myself a pair and document the process for anyone else who might be looking to make their own apron.
Ready to create your very own apron, perfect for this season's gardening and baking?
Let's get started!
I found two really fun ways to hack the Fleur into a functional apron! I'm not sure of the proper names for each type of apron, but the first is a Front Coverage Apron while the second is a Full Coverage Apron. This means that the first apron provides coverage to only the front portion of your body whereas the second apron provides coverage around the back portion of your bum.
I personally like the Full Coverage Apron best only because I have a tendency to wipe my hands on my bum when working in the kitchen. This apron keeps me from ruining the clothing I am wearing underneath. However, the Front Coverage Apron is a bit easier to put together as it requires less pattern hacking. In the end, I wound up making one of each for myself and have no regrets!
For both aprons, you will need the following pattern pieces - don't cut anything just yet! Just get these pieces ready by tracing them out onto another sheet of paper:
- Back Waistband
- Skirt
- Button or Tie Strap
- Front Bib
- Bib Pocket (Optional)
- Skirt Pocket
- Waistband Tie (we will create this)
You will also need the following supplies:
- Approx. 1.5 - 2.5 YDs (1,3 - 2,3 metres) main fabric
- Scrap lining fabric
- Paper + pencil/ pen
- Matching Thread
- Sewing Machine
- Iron + Ironing Board
- Fabric marking tools
- Fabric scissors
- Ruler or Measuring tape
- Chopstick
And of course we can't forget to add in a sweet treat to keep us going, a glass of our favorite beverage, and some fun background music/ show/ podcast to inspire us along!
If you are interested in working on Apron #1 : Front Coverage Apron, feel free to skip ahead to its own dedicated blog post HERE.
Apron # 2 : Full Coverage Apron
With all your supplies at the ready, and your pattern pieces freshly traced, we can begin! We are going to start by altering the pattern pieces that need modifications and drafting those that we are currently missing. This particular version requires a bit more altering than the first version, but don't let that put you off trying - I know you are going to do great!
First, change the name of your back waistband to be Front Waistband. This is just so that we don't get confused later on (as I inevitably will!)
Next, cut your waistband in half between the notches.


Tape one of the cut pattern piece sides to a piece of scrap paper.

Measure out 7" (17,8 cm), and place your second pattern piece at that measurement. Tape into place.


Make sure that your pattern pieces are lined up properly and connect them back together at the top and bottom. You now have your lengthened front waistband!

Don't forget to add your notches back into place along the center of your waistband.

Lengthen your tie straps to be at least 25" (63,5 cm) long. You can always make them longer if you'd like, but I wouldn't go shorter, especially if you like tying a nice bow!


 If you are using the button tie straps, don't forget to lengthen your fold line as well (and cross out the button hole marking!)
For your skirt piece, first you will need to add a 1/2" (1,3 cm) seam allowance down the CF of the skirt. The reason for this is because will be turning our "Cut 1 on Fold" skirt to a "Cut 2" skirt because of the new width of the pattern piece. I found it to be too wide for cutting on the fold, especially when using quilters cotton.

Next, you need to add 7" (18 cm) to the side seams.


Finally, draw out your waist ties. I used a measurement of 2 7/8" x 32" (7,5 x 81,5 cm) for my tie which left me with plenty of material to create a cute bow in the back! Feel free to adjust the length of your tie to suit your preferences. You will need a total of four of these pieces cut.

Once you have all your pattern pieces altered, you are ready to cut out your fabric! And because we aren't adding buttons to this project, you can skip interfacing your straps, skirt, and straps (which will be neckties!). You can even skip interfacing your waistband if you'd like, though I always tend to keep that mostly out of habit.
Prep Work
You can prep your straps, bib pocket, pockets, and front bib as you normally would. When attaching your straps to your bib, follow the instructions in your booklet for attaching the tie straps to the front bib!

Once you have your main pieces prepped, we can move on to prepping the waist ties and waistband!
Waistband + Waist Ties
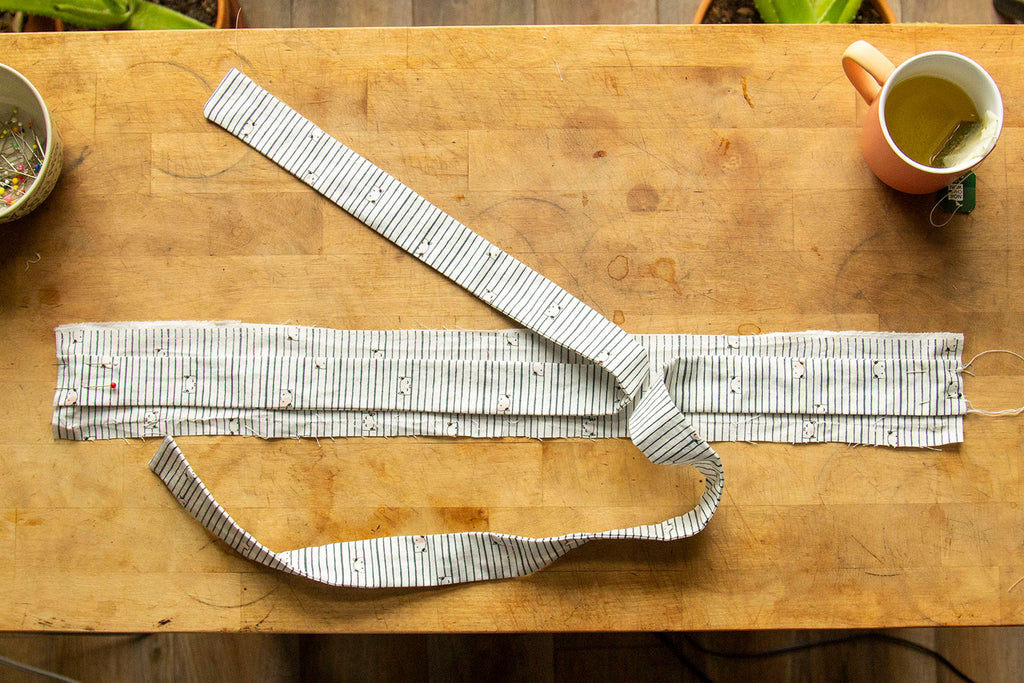
Working with one set at a time, place right sides together (RST) of two of your waist ties. Pin all along both the long edges and one of the short edges (if you want, you can add a little slash edge here for a fun detail!).


Using a 1/2" (1,5 cm) seam allowance, sew along these three edges.
Trim your corners, then flip your tie right side out (I used a chopstick to help get my corners out!).


Press.

Repeat these same steps with your second tie.
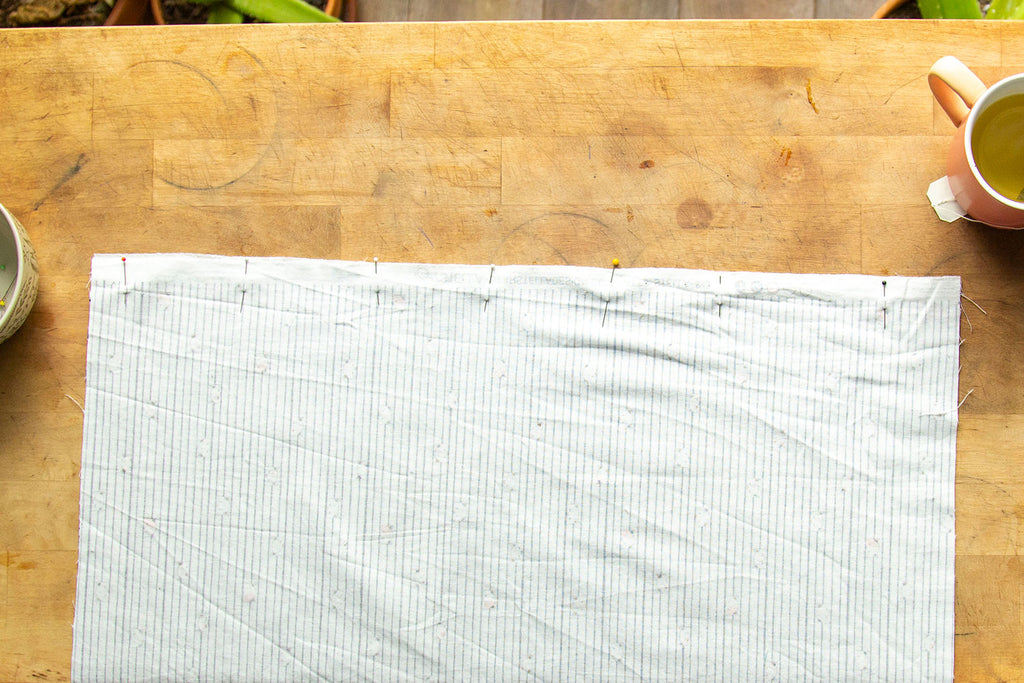
Baste your waist ties to either short edge of your front waistband. Make sure you have it centered on your main fabric.

Attaching Waistband to Bib
For the waistband, you will attach it to the bib as you normally would, i.e. the bib should be sandwiched between the waistband lining and main waistband fabric. Just make sure that you aren't getting your waist ties stuck in the seam allowance of your waistband!

Trim your corners, poke them out, and give everything a quick press. Set your bib + waistband and ties aside for now as it's time to tackle the skirt!
Skirt
Don't forget to take a little break somewhere in between all of these steps. I know how tempting it can be to push through to the finish line, but your body needs movement and your eyes need rest every now and again!
Once you are recharged and ready to go, it's on to prepping your skirt. To start, go ahead and attach your pockets as outlined on pages 41-43 of your instruction booklet.
Next, sew your skirt together at the center front seam. Make sure you don't accidentally flip either of your pieces upside down otherwise you might end up with pockets in the wrong place!


On either side of your skirt, press your seam towards the wrong side of your fabric in 1/4" (0,5 cm) and again 1/4" (0,5 cm).


Stitch your seam closed along the inner pressed edge.

Hem your skirt as mentioned on page 54 by pressing the bottom edge up 1/2" (1,5 cm), and again another 1/2" (1,5 cm). Stitch along the upper folded edge.
Lastly, you are going to need to gather the top edge of your skirt! Without backstitching, use a long straight stitch to sew 1/4” (0,5 cm) from the inside of one hemmed edge to the other on your skirt pieces. Sew a second line of long straight stitches 5/8” (1,5 cm) from that row of stitches.
Pull lightly on the bobbin threads from one side of your skirt to help gather it.
Putting it all Together!
Once you have your skirt all sewn up, it's time to finish up your Fleur hack!
Because we added width to our waistband at the beginning of this hack, you will be sewing your skirt to your waistband as you normally would.


Flip your waistband right side out and gently poke out the corners using a chopstick, paintbrush handle, or tiny flat head screwdriver.
Finish your waistband by turning the rest under and topstitching all along the outside of your waistband.


 Be careful not to accidentally catch one of your straps in your topstitching like I did- whoops!
Et Voila! Your Fleur Pinafore hack is complete!

I hope you had a lot of fun sewing yourself a Fleur Apron! I would love to see you whipping up a cake or out in the garden in your very own apron - Feel free to tag your Fleur hacks on IG with #UTFleurHack ! Bonne Couture !

