
Have you ever made a garment that read to be your EXACT measurements, but for some reason the fit was still off, especially in the bust area? Perhaps your garment turned out a bit more low-cut than you had expected. Or your buttons feared flying off and popping someone in the eye. Maybe your outfit fit in every single way, but there just seemed to be so much extra room in the chest area.
If you have experienced any of these issues, or other similar ones, you may be in need of a Full But or Small Bust adjustment.
Most patterns are drafted for a straight B-Cup sized bust. There are a few pattern companies out there drafted for a C-Cup (Sew Liberated), multiple cup options (Cashmerette, Helen's Closet, Friday Pattern Co., Untitled Thoughts), and others that have specific patterns that offer multiple cup options (McCalls, Simplicity). But unless the pattern company has specifically noted that they have drafted for a special set of cup sizes, it's realistic to assume that the dress you are about to cut in to was drafted with a B-Cup base.
That being said, everyone in the sewing world isn't a straight B-Cup size, so many of us need to do one of two things to get our garments to fit properly: A Small Bust Adjustment or a Full Bust Adjustment.
Let's start with looking at an FBA (Full Bust Adjustment). If you want to skip ahead to doing an SBA (Small Bust Adjustment), check out Part 2 of this Guide.
For those larger than a B-Cup draft, an FBA will allow you to achieve a better fitting garment through the bust line while maintaining a closer fitting garment throughout the waist and shoulders. Have you ever noticed that when you simply "size up" to meet your bust requirements that everything in your garment becomes ill-fitted? That is because the pattern grows in size everywhere are you size up, not just the bust. But when you have a fuller bust, your entire body isn't necessarily any larger, you just happen to have a greater difference between your high bust and full bust measurements!
There is a really awesome, in-depth tutorial for do a Full Bust Adjustment on the Curvy Sewing Collective's site as well, so if you find my tutorial lacking in anything, please check out this additional blog post! Plus the entire site is simply filled with loads of amazing tutorials that you might love!
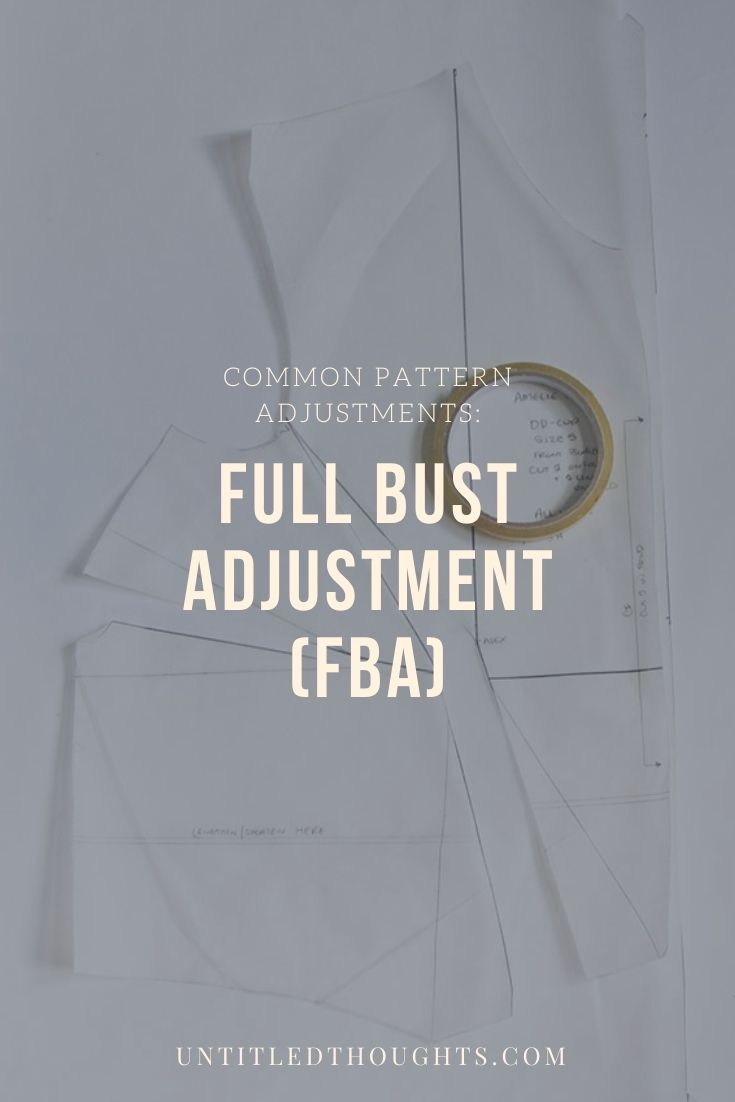
For this tutorial, I'll be practicing on the Amelie Dress since it has a unique set of darts not seen on many patterns. Honestly, the concept will remain the same for adjusting any other pattern with front bodice darts, so you will be able to take this new knowledge and utilize it on a variety of patterns!
Before we jump in to cutting up and testing out our first FBA, we need to do a bit of math to determine just how much added fullness is needed in our garment! The simplest way to determine how much fullness is needed in the bust is to simply find the difference between your high bust measurement and full bust measurement. (If you need additional guidance on determining what those two measurements might be, take a look at my Quick Guide to Measuring Yourself post).
Take a look at the pattern's measurements. When you have a larger bust, you actually will want to use your high bust measurement to determine which sized garment to make. For example, let's say my high bust is 40" / 101.6 cm and my full bust is 47 1/2" / 120.7 cm. That means I should make a size 8 according to the size chart below.
 Getting back to the math of it....
 Getting back to the math of it....
Since I am using a size 8 DD-Cup as my base, there is a 2" (5 cm) difference between my measurements and that of the stated garment measurements (Garment Bust Measurements: 45 1/2" / 115.6 cm ; My Full Bust Measurements: 47 1/2" / 120.7 cm). Don't forget, we are only working with half of a bodice piece, so we actually will only need to add in 1" (2.5 cm) of fullness to our pattern.
Extra Room Needed divided by Two Bodice Halves = Width of FBA
I know that was a lot of work, but now you have your measurements for any and all future projects! We can officially get started with our FBA, whew!
SUPPLIES NEEDED:
- Your Traced off Pattern
- Tracing Paper
- Pen or Pencil
- Sharpie
- Paper Scissors
- Tape
- Clear Ruler
*Note: Don't forget to trace off all of the important markings from your pattern, especially the bust apex and the lengthen/shorten lines.
Let's Get Started!
Our ultimate goal with performing this FBA is to add fullness at the bust point without sacrificing the proper fit at our shoulders and waist points. In order to do this, we will need to start by drawing a few lines on our pattern pieces!

The lines you want to draw are as follows:
- From your Apex Point straight up to your shoulder seam
- Directly through the center of your side dart to your Apex
- Directly through the center of your waist dart to your Apex
- From your Apex point to your armhole (I drew my point a bit lower than recommended- You want to draw your line roughly 1/3 of the way from the shoulder seam to prevent distortion in the armscye)
- Just above where your waist dart ends, horizontally through the center front
Awesome! Now that all your lines are in place, let's get to cutting and hinging our pattern out! There are a few places we will be cutting. It's important NOT to cut through our entire pattern piece. We want to leave a smidgen of the pattern intact so that we can hinge the pieces around and not accidentally distort the outer pattern edges too much!
The first cut we will make is going to be through our waist dart up to the armscye.


Next we will take our scissors and cut through our side dart, stopping just before the apex.


Yay! we are currently done with cutting... for now. Don't let your scissors wander too far as we will need those again!
As you can see, our pattern pieces are nice and malleable. As you pull on the bottom side seam corner, it naturally opens up, revealing added fullness in the bust area!
Now it is time to grab your FBA width (mine was 1" after doing all that math), some tracing paper, some tape, and your ruler.

When working on the hinging part of this process, I like to tape down the part of my pattern piece that shouldn't be moving, just so I don't have pieces flying all over the place! That part is mainly the right side of my pattern. If you don't want to use tape, feel free to use some pattern weights to weigh this part down and keep it from moving for now!
Now is the time to hinge our pattern open by our new FBA width! Gently pull the bottom side seam corner of your pattern out by the FBA width you determined you would need.


Both your side dart and armsyce will have changed slightly in this process- that is ok! When we add fullness in one area, it will affect other areas as well! Go ahead and tape down your new side dart and waist dart position, but only on the left side of your waist!
Did you notice that when you moved your waist dart that the length of your bodice also shifted and it is no longer even on either side of your dart? Fuller busts tend to need more bodice length to accommodate the distance our garments need to go over the bust before meeting our waistline. So now, we just need to make our center front match our new waistline.
Cut along line 5 of your pattern piece (Clean off! No hinges this time!) and gently slide it down until your lengthen/shorten lines are even on either side of your soon-to-be-new waist dart.

Now we can tape down our entire pattern piece and cut away the excess tracing paper. Don't celebrate just yet- we aren't quite finished!
We need to redraw our dart legs for our new sew of darts. Remember, we just wanted to add a bit of fullness to the bust point, but we want to keep our waist measurement the same, so we need to redraw those darts!
First we have to find the bust apex, but we aren't going to simply use the pattern's old apex to find it! Since this garment is meant to fit YOU, let's find your apex! Hold your pattern piece up to your body and mark the fullest point of your bust onto your pattern.
Now, we don't want our bust darts coming right up to the apex- that is what happened when I was testing the Amelie and guess what it produced? Loads of Madonna-esque dart points. So unless that is the look you are striving to achieve (no judgements if you are after that look, I just know many aren't particularly fond of it in RTW), we want our bust dart tips to be AT LEAST 1 inch away from the apex and Mary Danielsen Perry of the Curvy Sewing collective suggests for those with fuller busts actually go a bit further and move their bust dart tip two inches from the apex!
As you perform FBAs on your future patterns, you will slowly find out what measurement works for your body. For now, I will take Mary's advice and move my dart tip out 2" from my apex.


Using your new dart tip, let's connect that point to our old dart leg ends. Ignore the actual dart legs and just focus on hitting the ending points of your old dart to form a completely new dart, perfect for you!

Alright, we are ALMOST there! All we have left to do is rid ourselves of the excess paper around our patterns.
To do this, we are going to fold our darts closed in the same way we intend to sew them. Match up the two legs and tape or weight the edges down.

And then cut that excess paper off right at the side seam line! This ensures that we create the proper "triangle" piece typically seen on dart ends that gets sewn into the side seams later on.

Repeat this step for your waistline dart. We also want to smooth out the armscye a bit, so simply redraw a smooth line at the point you hinged and then cut around that new point.
Ta-Da! You now have a pattern that will fit your shoulders and waist AND keep the girls all nice and cozy! Go ahead and sew up your new pieces out of Muslin whenever you have the opportunity to see how it all fits! If you like the fit, feel free to trace off this very cut-up FBA bodice onto thicker paper that you can use again and again and again and again!

Now let's take a gander at an SBA (Small Bust Adjustment).