
Have you got your snack at the ready for today's journey? We are going to tackle the front waistband and finally finish up the front pants. I've got my decaf by my side, and I am ready to go!
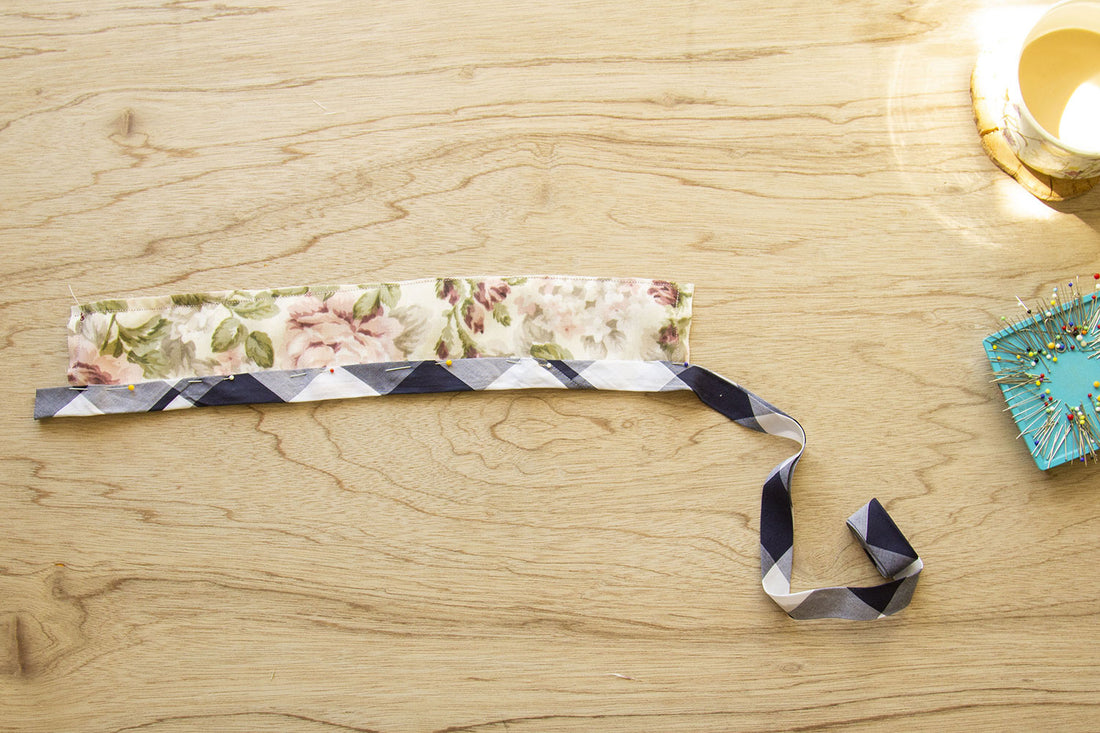
Finish the bottom edge of your front waist facing (the side without any notches). I love using a fun pop of bias tape here as a cheery surprise just for me! It's also a great way to use up scraps from other projects, which is how I crated my bias tape. If you want to learn how to create your own, check out this blog post.


With RST, attach your front waist facing to the top edge of your trouser front, making sure your notches line up along the top edge of your waist.


Grade your seams.

Press your seam allowance up towards the waist facing.


Understitch along the top edge of your waist facing.
Press your entire waist facing towards the back side of your trousers.


Set your front trouser pieces aside for now.

We are gearing up to tackle the back of the trousers. Then we will bring both sides together beautifully finished garment! Come back for Part 5 - Back Waistband + Elastic whenever you are ready to tackle the next bits of your garment.