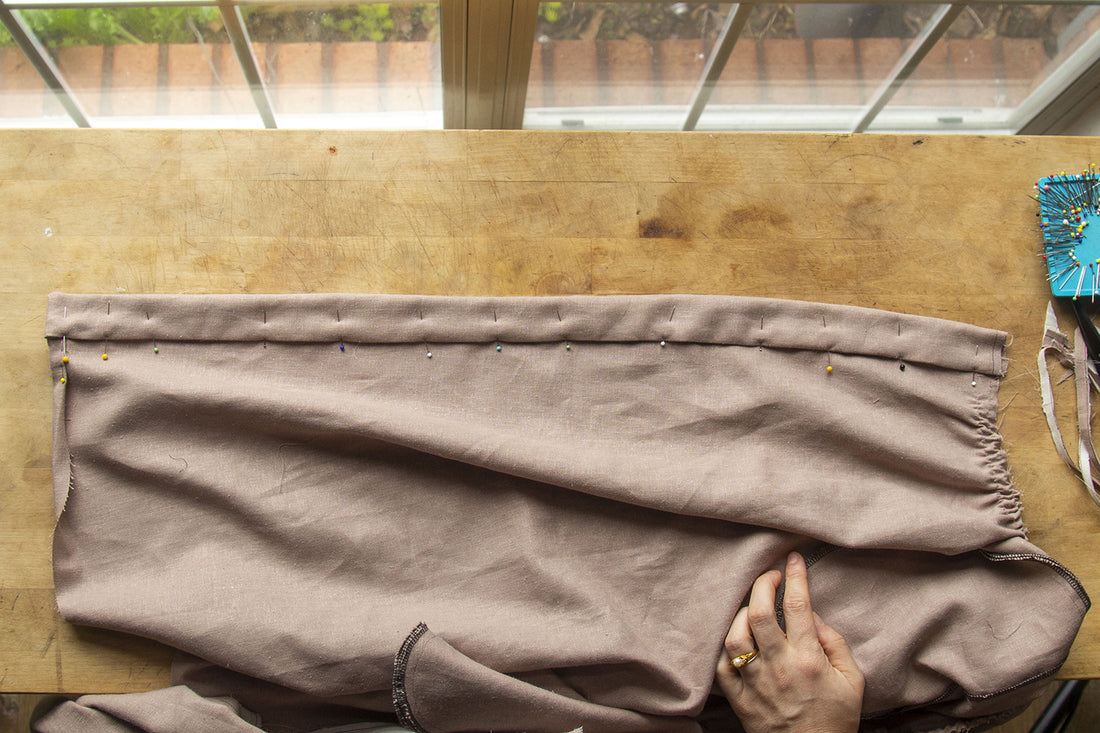
It's time to tackle something that I actually used to actively avoid: attaching the placket. I'm not sure why I used to be so scared of sewing plackets to my garments... Maybe it was the fear of not getting the inside placket to look perfect while sewing from the outside? Which is silly, right, because who is looking at the inside of my plackets besides me! So let's toss the idea of "perfection" to the side and have some fun sewing up our skirt plackets today!
For the following, repeat each set of instructions for both sides of your Back Skirt.
With RST, attach the non-interfaced Placket to the CB skirt.


Press seam towards CB Placket.


Press one of the long edges of each interfaced Placket 1/2” (1,3 cm) towards the wrong side.


With RST, pin the interfaced Placket to the non-interfaced Placket along the long, non-pressed edge and bottom seam.


I like to mark my bottom hem with the 1" (2,5 cm) seam allowance that we will sew in the next step.


Sew along the long edge using a 1/2” (1,3 cm) seam allowance and bottom hem using a 1” (2,5 cm) seam allowance, making sure to catch the pressed seam allowances on both plackets at the bottom.
Trim your corner and grade your seams.


Turn your plackets to the right side and press.
Pin your pressed, interfaced placket piece to the non-interfaced seam allowance, making sure that both Placket seam allowances are towards the inner Placket.


When I get to the hem near the bottom of the Placket, I like to turn it up 1/2" (1,3 cm) twice and pin the hem into place. Just at the point where it meets the Placket. This ensure that the hem is in the right place where these seams meet and saves a lot of headache and finagling later one.


Topstitch around the entire Placket, slowly removing the pins from the underside of your garment as you go. Remember, we are tossing that pesky idea of perfection out the window and having fun!


I hope you feel super proud of tackling your Placket pieces today - I know I do! Next up is my absolute favorite part of any project because it means we are nearly at the finish line: Part 6 - Putting it all Together.

