
Update: Feb. 11th 2022: Along with my original blog post, I have created a video tutorial outlining how to use sew-in interfacing on patterns where only a portion of the pattern piece calls for interfacing. I hope that both the blog post and video are helpful!
Those of you who have been around for awhile will know that one of my "signatures" is utilizing muslin fabric as a sew-in interfacing for my projects. I have never been a big fan of iron on interfacing. I find that they break down more easily than woven interfacing sand the idea that many are made of synthetic materials just never sat right with me.
That’s not to say I’ve never used iron on interfacing, or that my closet is free from it entirely. It’s just, in the past few years, I have steadily been working towards creating a wardrobe that I could eventually return to the soil through composting. That is to say, a 100% all natural wardrobe made of materials that will readily decompose in nature in a circular, closed loop sort of cycle.
Hence the shift towards using muslin as my primary source of interfacing.
I find that there are many benefits to utilizing muslin as interfacing. For one, it’s a brilliant way to use up those toiles I have made to check the fit of garments. You can completely take apart your toile and use the fabric on the same exact project you were checking the fit of like I did with Arlen’s suit jacket — I used various pieces of the toile to interface his final jacket — or you can save the scraps from various projects to use in future, unrelated garments. I actually have a specific bin filled with muslin scraps for that very purpose!
I have a few tips for working with muslin as a sew-in interfacing:
- Make sure your muslin has been prewashed and dried. You want to get as much shrinkage out of your material as possible before using it so that it doesn't shrink and cause distortion to your garment. This is especially important if you are planning to use your muslin to interface a garment whose fiber content is something other than cotton.
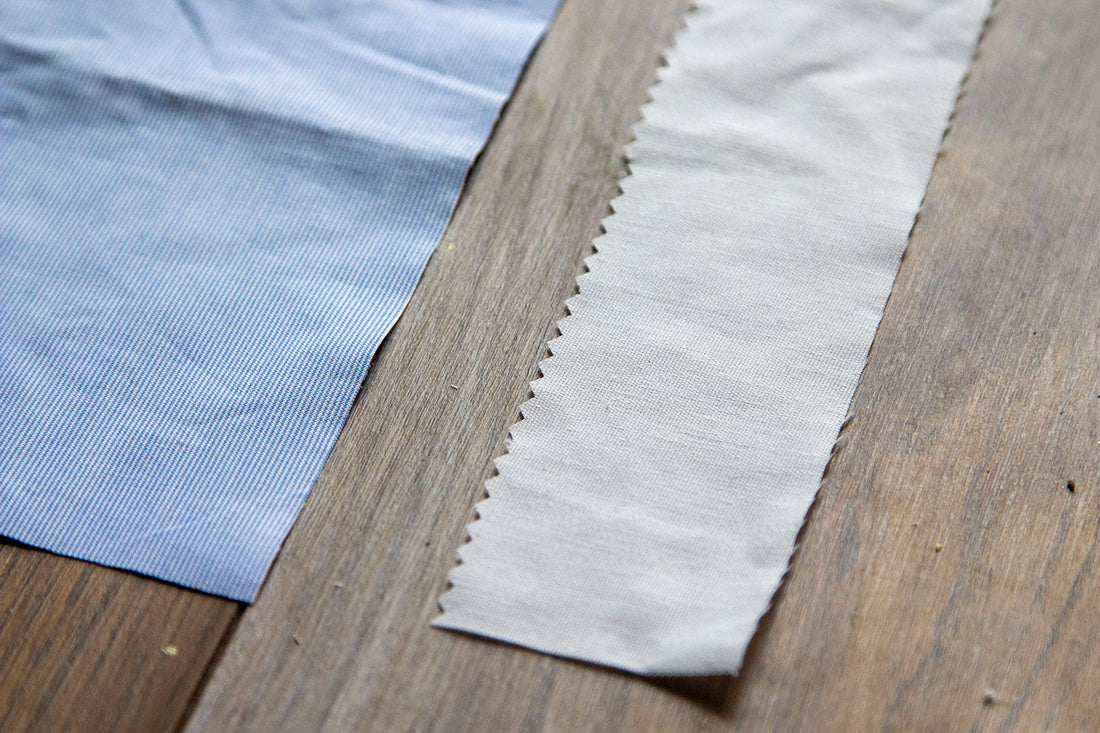
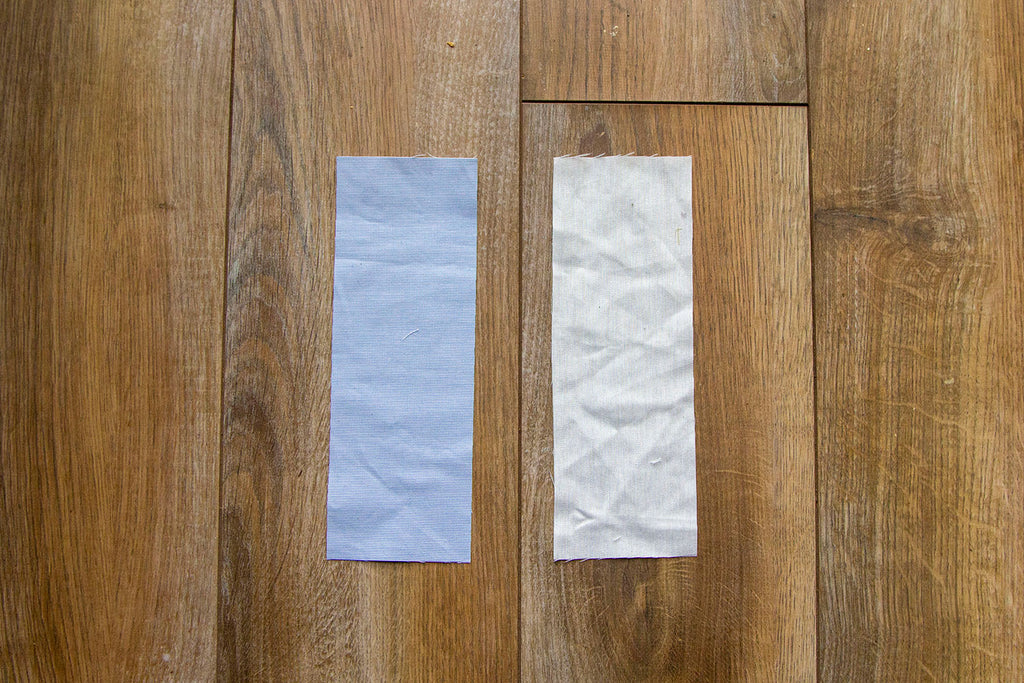
- When choosing a muslin weight for interfacing purposes, it is best to choose something that is similar to the fabric in which it is interfacing. i.e. if you are interfacing a lightweight material, you will want to opt for a lightweight muslin, such as a voile. For a heavier weight material (like denim) you will want to chose a heavier weight/ sturdier muslin to interface with.
- Prior to starting your project, I suggest pressing your muslin. Working with a wrinkled or creased muslin can really distort your final garment, especially if those creases cause you to cut off grain.
- Speaking of grain, when cutting woven interfacing, I have found it best to cut it out using the same grainline as the pattern pieces I am interfacing, unless otherwise noted by the pattern. This will keep your garment from distorting in the wash or through wear.
To finish off this post, I want to show you how to actually sew in muslin interfacing. For the most part, you can get away with attaching your interfacing via basting it to the wrong side of your pattern piece.
Simply place your interfacing to the wrong side of the fabric that calls for interfacing.


Sew your two pieces together inside the specified seam allowance, using a basting stitch. For example, if your pattern calls for a 5/8" (1,5 cm) seam allowance, then you might baste your interfacing to your pattern piece using a 3/8" (1 cm) seam allowance. That way, your stitches are not visible on the outside of your finished garment.

Sometimes, however, you might wind up with a pattern similar to that of the Amelie Dress which calls for interfacing on only a portion of the pattern piece. In this instance, you can't simply baste the interfacing to the main fabric, otherwise you will see those stitches. For some, this may not be an issue -- your fabric may be busy enough to hide the stitching line or you simply might not mind visible stitching.
If you aren't working with a busy fabric or just don't like having random visible stitches, you still have a few options on working with sew in interfacing without compromising on the finished garment's aesthetics.
One option is to attach your sew-in interfacing to your lining fabric rather than your outer fabric. That way, no one will see the extra stitches AND you won't have to compromise on your interfacing.
Another option is to do a bit of hand stitching. This is the cleanest way of attaching your interfacing to the face of your garment without seeing any of the stitches on the right side of your garment.
For this option, you will need to start by finishing off any edges of your interfacing that won't be sewn into a seam. You can do this by pinking, serging, or adding a simple zig-zag stitch along the raw edge. This will prevent your interfacing from slowly unraveling in the wash or through wear.
 Please excuse the un-ironed "bodice" piece. My iron was upstairs and I didn't feel like running back to press it.

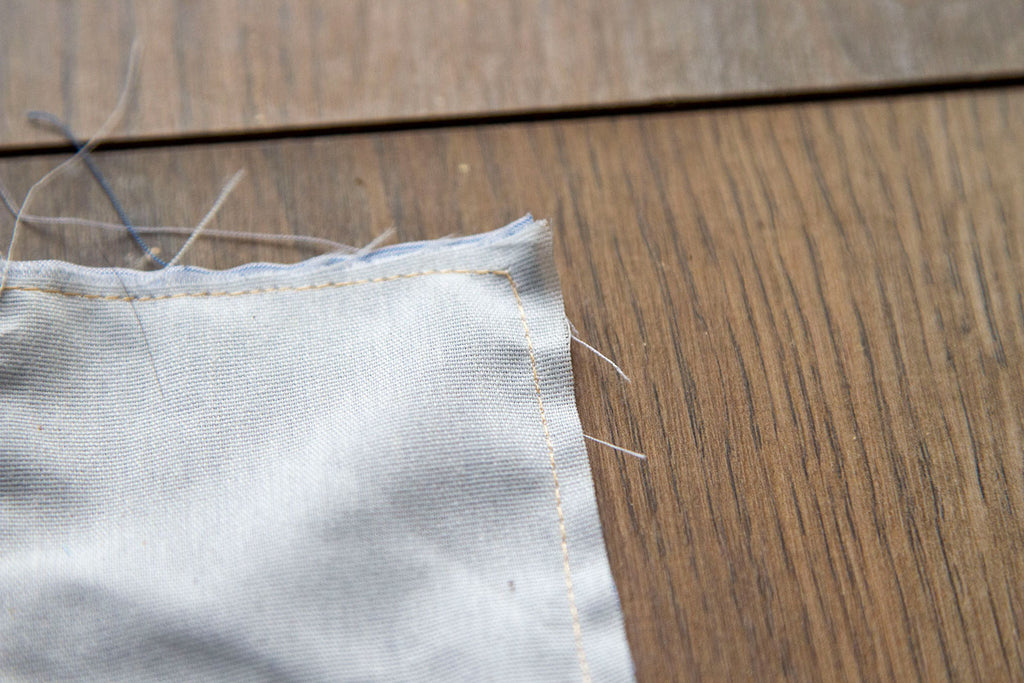
Next, baste your interfacing to the wrong side of your fabric inside the seam allowances, like so.


Finally, you will need to attach the finished edge of your interfacing to your fabric. The most invisible way to do this is through sewing a blind hem. You could, of course, leave your interfacing to dangle inside your garment, but I have personally found that if my interfacing isn't at least tacked into a few places, it has a greater chance of distorting and getting bunchy after just a few washes.
To sew a blind hem, thread your needle with a single piece of thread.

Tie a knot at one end of your thread.

Start inside the seam allowance of where your free-hanging interfacing meets your basted interfacing.

Using your thumb as a guide, slowly pierce your interfacing's finished edge and pick up one stitch of your main fabric.

Continue on to the next stitch in the same manner until you have reached the end of your interfacing's finished seam.

From the wrong side, your hand sewing will look a bit like this....

....but from the front, you won't be able to tell you have sewn any stitches. Pretty neat, right?!


I hope you have enjoyed this brief tutorial / new option for interfacing your garments! If you have any questions or suggestions in regard to utilizing sew-in interfacing, feel free to leave them in the comments below! I look forward to hearing your thoughts 😊
8 comments
Hi, thanks for very helpful post! Sew in interfacing seems similar to interlining to me, which I believe has to be quilted in. if using sew in interfacing for an entire piece (bag, clothes, etc), does it have to be quilted to keep interfacing from moving, as with interlining? thank you!
Hi Coleen! That is so exciting to hear! I can’t wait to see all of the wonderful items you create with such special wool and I am so so happy that this post has been helpful :)
Hi Brittani,
This article is/will be an invaluable resource for me as a begin the project of turning a ton of vintage wool I nabbed off Ebay into various coat designs. Thank you so much!
Colleen
Hi Kira!
Oh my goodness I am SO glad you found it helpful! ❤️❤️
Just dropping in out of nowhere to say, this i SO helpful. I’ve been searching for an HOUR for info on natural fabric interfacing. Thank you so much!