
I love a good pocket- I mean.. who doesn't? My two best friends are getting married within the next year and whenever we have been out shopping and have found that their dresses have pockets, we literally squeal with excitement. Pockets are honestly everything!
Unfortunately, not all patterns offer pockets (why??), and some patterns only offer patch-style pockets which aren't always an ideal. Luckily, adding inseam pockets is SO SIMPLE. Truly, it is probably one of my favorite hacks to perform on any number of my #memade garments.
Ok, Let's Get Started!
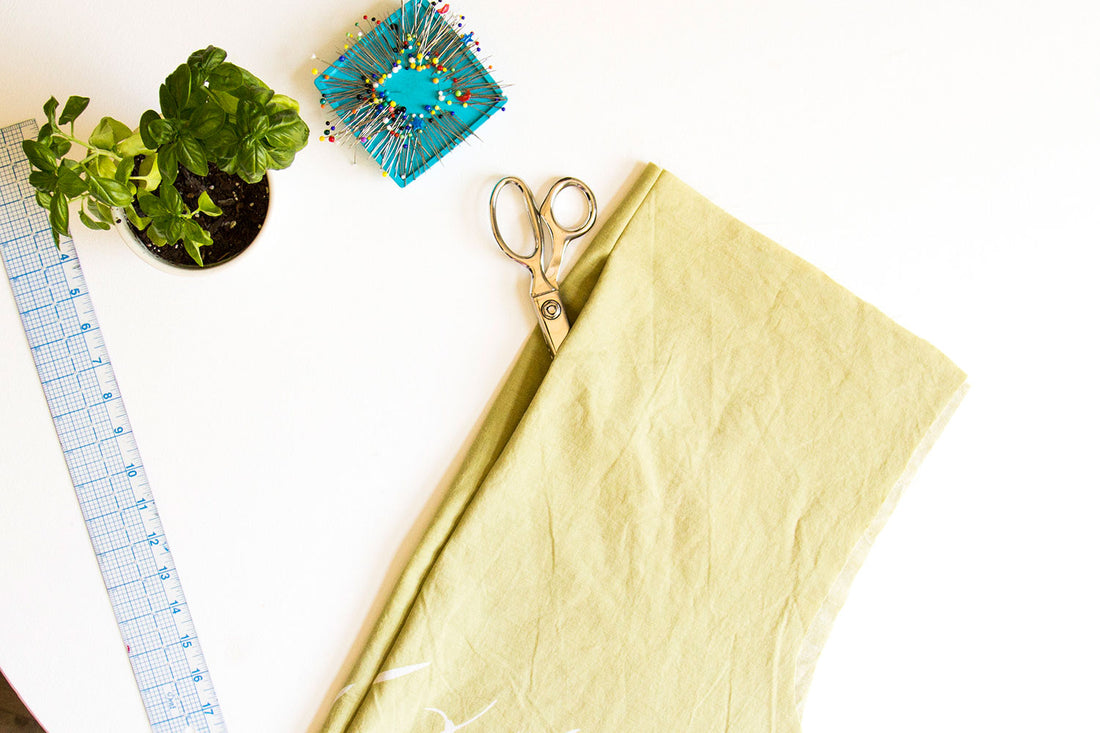
You'll want to gather some supplies first and foremost! You'll want to grab the following:
- Your cut out pattern (I am using the bottom half of my Olive Jumpsuit to demonstrate)
- Your favorite inseam pocket pattern
- Pins
- Fabric Scissors
- Pinking shears or a Serger
- Ruler
- Sewing Machine (Threaded with matching threads)
- Iron
- Coffee or Tea (Gotta have that bit of comfort!)

To get started, you'll want to cut out your pocket pattern using the same fabric as your project. You can literally use any pocket pattern for this project, which is great! My favorite inseam pockets have always been those that are slightly larger than my hand as I know I can easily stuff the pockets full of cookies when the time comes!

The most important part of adding inseam pockets probably comes from the order in which you finish your seams. I was a bit lazy and didn't want to run up and down the stairs to use my serger, so instead I just used pinking shears to finish off all of my seams. So whenever I mention that I will be pinking a seam, feel free to finish your seam off in your favorite way! That could mean using a serger, bias binding, zig-zag stitch, or pinking shears like me!
Once your pockets have been cut out, go ahead and pink around the outer curved edges.


Now we have to determine exactly where your pockets should be placed on your garment. For me, I like them just a few inches below my waist. I find that if they are placed too low, I can't get my arms to reach them which defeats the entire purpose of putting sweet treats in my pockets!
I decided to bring my pockets at least 2.5” (6.4 cm) down from the waist of my pants. That gives me enough space to finish off the waist of my pants as well as reach my arms into my pockets.

Once you have your pocket placement all mapped out, with right sides together (RST) pin your pocket to the side seam of your project.

Sew that seam down using whatever seam allowance your project calls for you to sew throughout. For me, that was 1/2” (1.3 cm).

Remove your project from your sewing machine and pink the entire edge of your project, not just the seam you have recently sewn.

Flip your pocket open and iron your seam allowance towards your pocket. This will help to keep your pocket opening nice and flush against your side seam without it trying to peak out constantly. Optional you can also understitch the edge of your pocket opening for added security and strength!

Repeat the last 5 steps on the back side of your project. For me, I did one side of the pants. First I sewed my pocket to one front pant leg.Then I sewed my pocket to one back pant leg.

Once you have at least two portions of your project ready, you can move on to connecting them together at the side seams! With RST, lay one half of your project on top of the other half of your project making sure you align the side seams and pocket bags.

Pin these pieces in place to keep your fabric from shifting all over the place.

And now we sew! We are going to start at the top of the pant near the waistband edge, then go down and around our pocket bag, and finally down through to the ankle edge.


Flip your project over to reveal the right side of your fabric and voila! Look at that super sexy inseam pocket! That wasn't so challenging was it? And now you know you can add pockets to any and every pattern that your heart desires- yay!

