So, this is my favorite favorite part of sewing elastic back pants! I learned this cool trick for hiding your elastic seams a while ago and just HAD to include it in this pattern.
We are going to start off a bit easy - with RST, pin your front and back trousers along the inner leg, starting at one hemline and going all the way through to the other hemline.


Make sure that your crotch seams are matching up. Sew these pieces together and finish your seams.


Now on to those tricky bits. With RST, pin the side seams of your front and back trousers. Make sure your front waist facing is up and out of the way. You don’t want to accidentally get it caught in your stitching just yet.


Stitch the side of your trouser seam - starting from the waistband edge through to your hem - ONLY on the side seam where you have already basted your elastic into place.
On the opposite side seam, repeat this last step, except this time you will start sewing just below the beginning of the back waist facing. This will allow you to have one side of your elastic free to adjust during the fitting process.


Finish your seams starting just below the back edge of the back waist facing edge.
It’s time to try on your trousers - yay! Slip into your pants and gently pull the elastic until you feel the fit is perfect for you.


Using a safety pin, pin the elastic in place. Make sure you can slip out of your garment easily.
Note: If you are like me and have a large hip to waist ratio, you may need to add a side zipper to your pants. Feel free to check out my tutorial on how to insert a zipper into elastic back pants HERE.
Baste your elastic in place along the side seam and trim away any excess material.
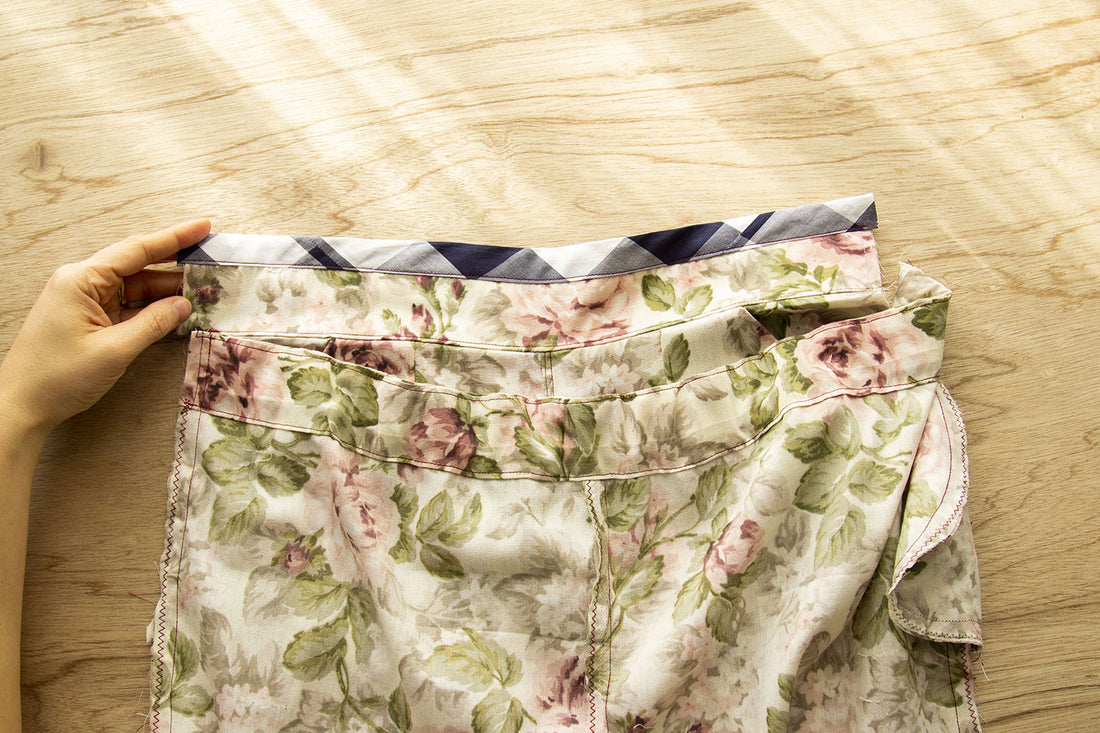
This is the fun part (at least to me!) where some magic happens, and we are able to hide all of our inner waist seams. Flip your front waist facing over the back waist facing.


Pin all your layers in place and sew them together. Your back waist facing should be sandwiched snugly between the front waist facing and the front trouser legs.

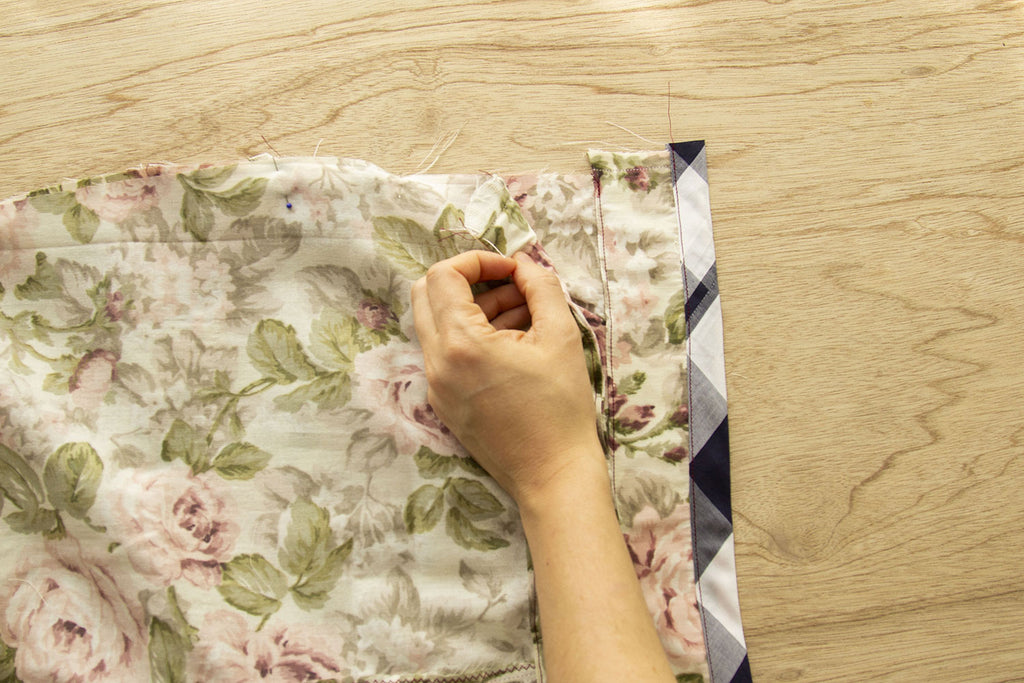
Trim the top corners of your newly sandwiched waist facings.


Then turn them right side out, and...

VOILA! Doesn’t that look oh-so-good?


OPTIONAL: If you want your back waist gathers to stay put, you can do so by evenly distributing the gathers of the back elastic and pinning them in place, through all the layers.


Whoa, we are nearly done! The next bit is totally optional, so if you aren't looking to do Part 7 - Belt Loops, feel free to skip on to the end, Part 8 - Finishing Touches.