I always get super excited when sewing trousers to get to the back part of the pants, mainly because I find it sooooo much easier to tackle, especially when there aren't any pockets!
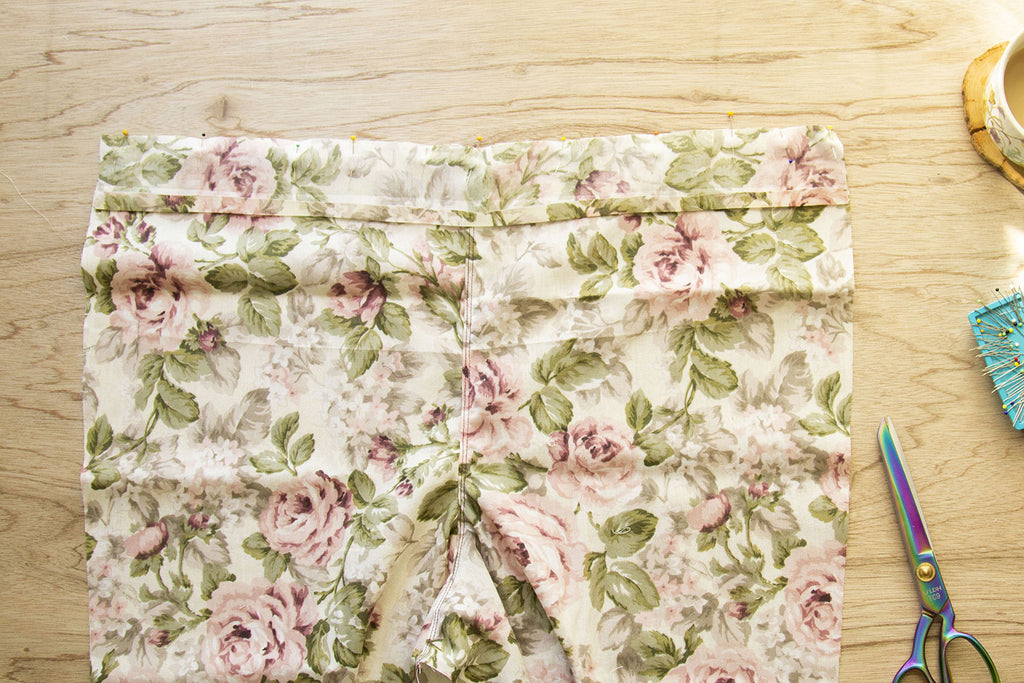
With RST, sew your back legs together along the crotch curve.


Finish your seams and press towards the left.

Flip your entire project over so that the right side of your trousers are now facing you.

Topstitch along the crotch edge from the top of the waist through the bottom of the crotch, just as you did for the front pant.

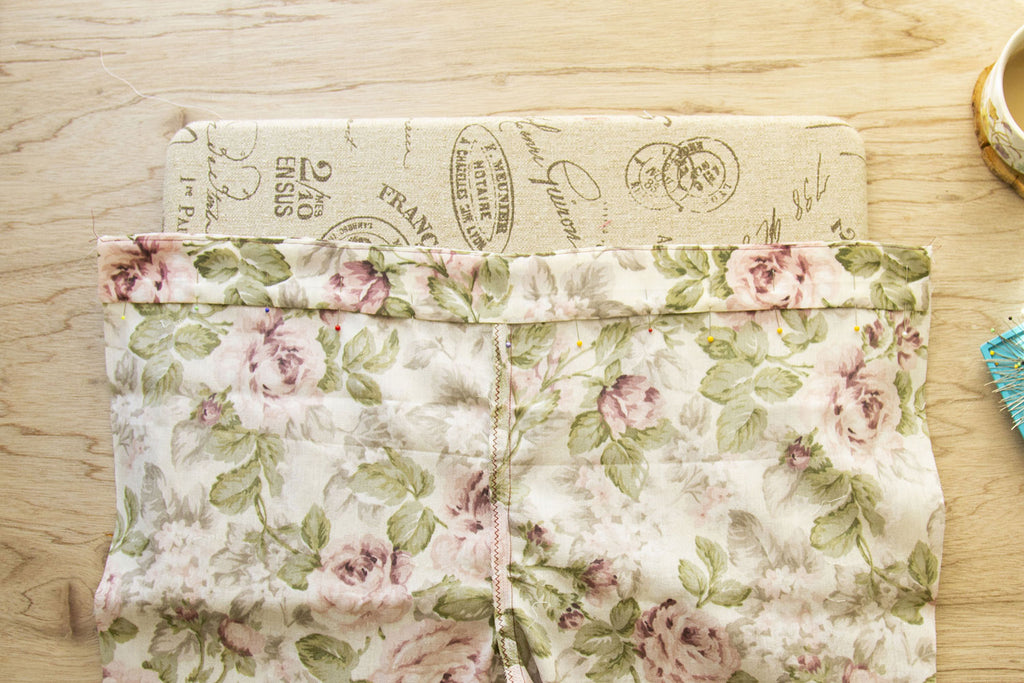
Grab your back waistband piece and head over to your iron. Press one of the long edges of your back waist facing up 1/2” (1,3 cm).


With RST, attach the un-ironed portion of your back waist facing to your back trousers making sure your notch matches at the CB seam.

Grade your seams.

Press your seam allowance up towards the waist facing.


Understitch along the top edge of your waistband (are you getting super confident in those understitching skills?!)
Press your entire back waist facing towards the back side of your trousers.


Sew along the ironed edge of your waistband facing.
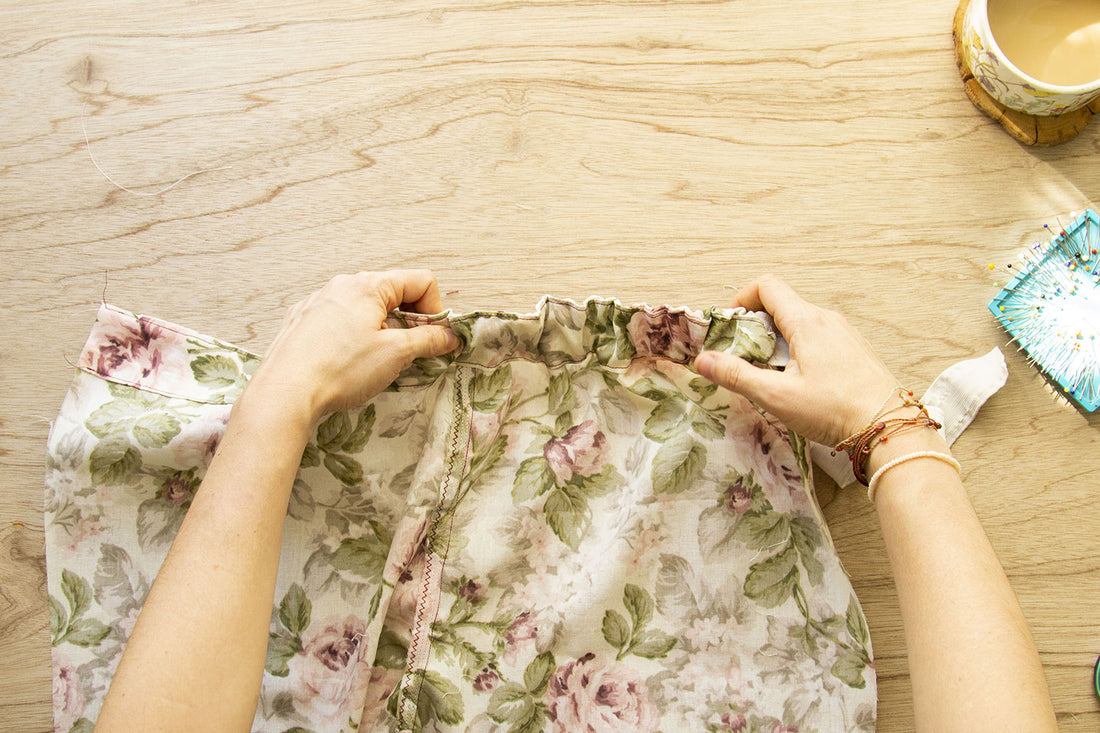
Using a saftey pin, slide your elastic through your back waist opening. Be careful not to stretch your elastic just yet- try to keep it as flat as possible.


Baste your elastic to one end of your waist opening, leaving the other end free.

Things are about to get interesting! Feel free to take a break here, grab a snack, watch a few funny cat videos, and come back with some new energy for Part 6 - Attaching Front to Back.