Alright, so yesterday we prepped our pants with interfacing and sewed up all of our darts- yay! For today, we are going to focus on assembling our pockets and attaching them to our pants.
Have you got your cup of coffee or tea? I've got some nice earl grey tea with honey next to me, so I am ready to dive in!
With right sides together, attach your front pocket bag pieces to the pocket openings on the front pant legs. 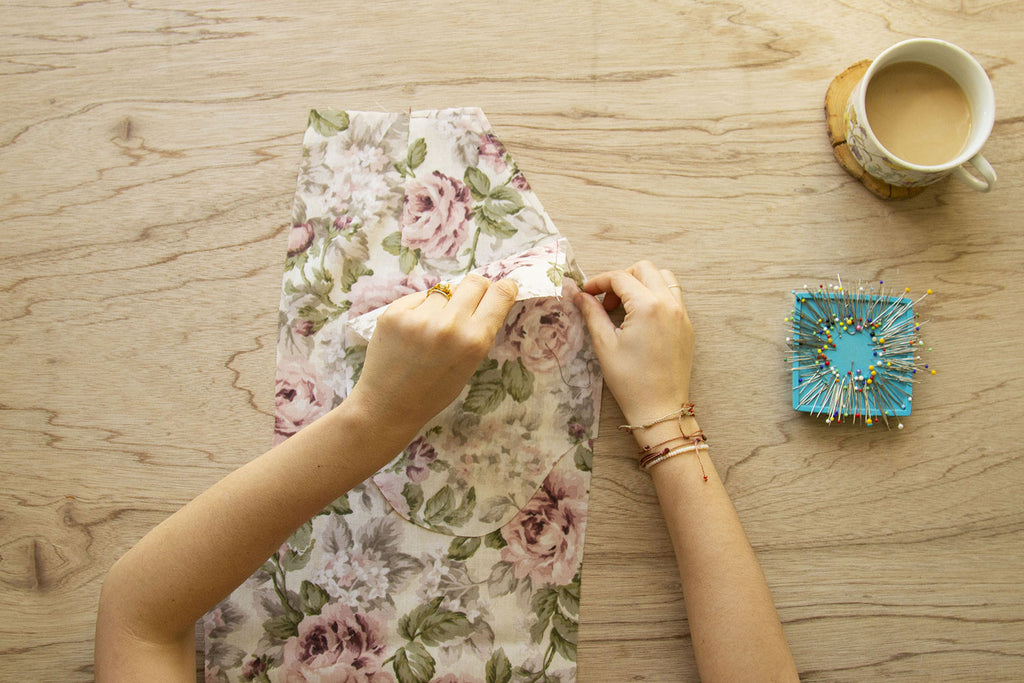


Grade your seams to help reduce the bulk at the pocket edge. 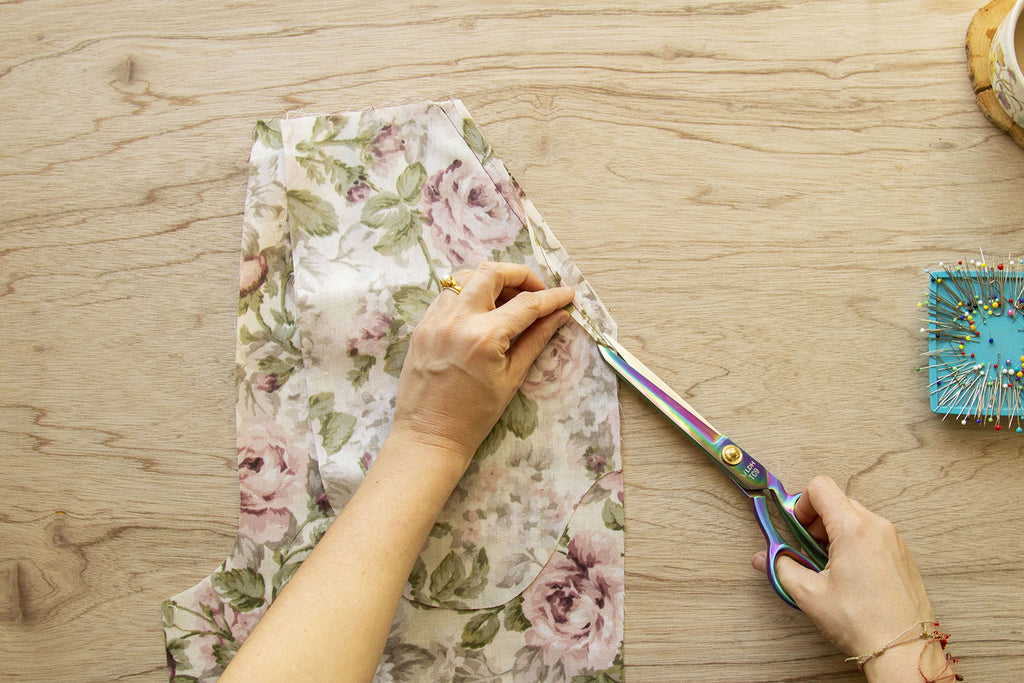

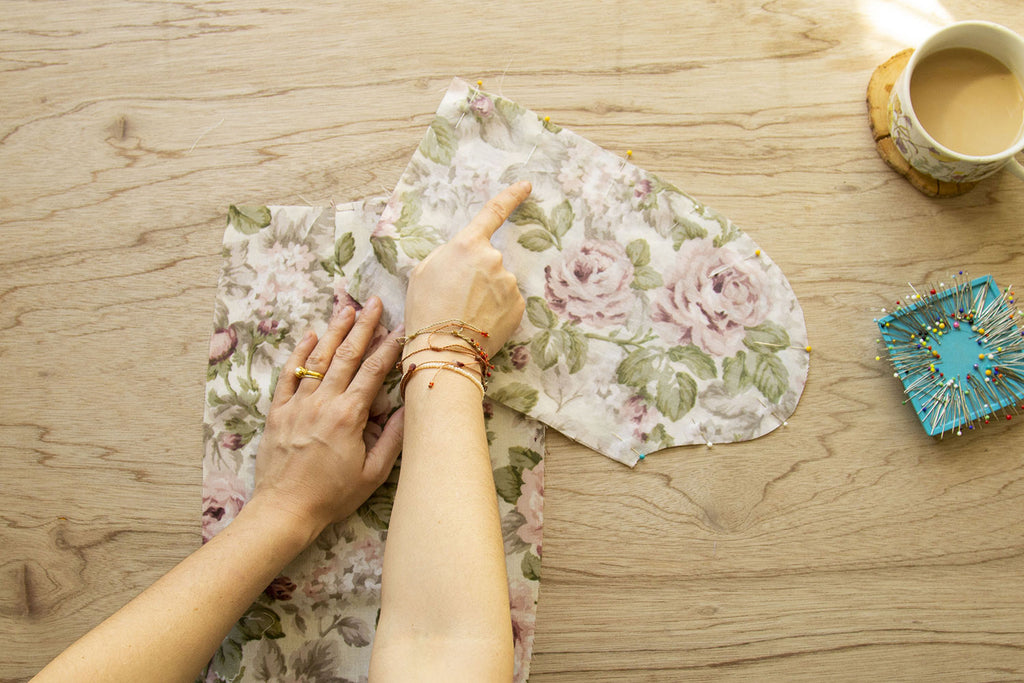
Press your seam allowance towards your pocket bag.


We are now going to understitch along the pocket opening. This part can be a bit tricky, so if you need additional help, check out this quick blog tutorial I put together on understitching.


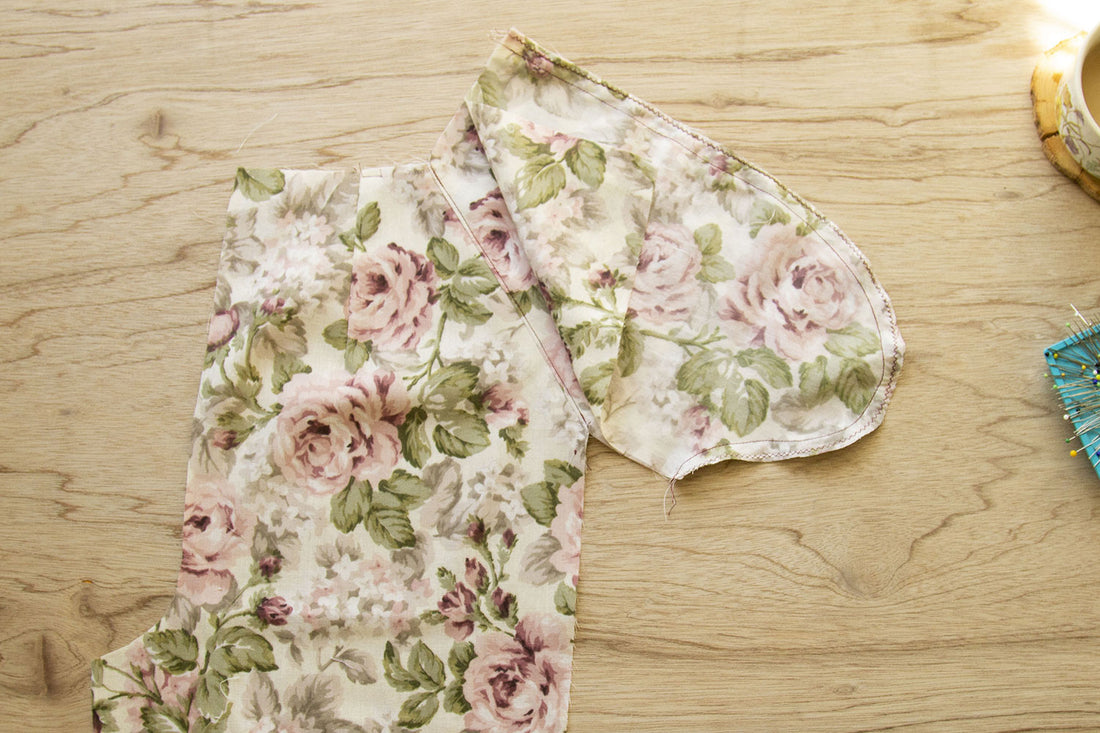
With RST, attach your back pocket bag to your front pocket bag. Finish your seams. I'm using a simple zig-zag stitch as my finishing method for this pair of pants.


Press your pocket bag towards the inside of your pant leg along the pocket opening.


Baste the top and side seams of your pocket bags to your pant leg front, making sure your notches line up.


This is what your finished pocket will look like from the inside.
Woohoo! You are done for the day- I mean.. if you want to be! If you are feeling that sewing mojo, feel free to roll right into Part 3 - Front Assembly (Straight Fly). If you are working on the Faux Fly view, hop over to the video tutorial where I walk through all the steps for sewing that particular fly view. Otherwise, I will see you whenever you are free to come back to your #UTChandlerPants