
The Woodland Library bookshelves are officially complete!
Whew, it feels GREAT to finally say that. Even though I am *several* months late in doing so. Technically, the shelves were completed way back at the end of July, but me being me, I have only just now gotten around to writing about the final push that made it all possible. Are you ready to see how we fixed my caulking mistake, made the basting-dish vent look more beautiful, and decorated the shelves with books and fun trinkets?
If you recall, I last left off with having discovered that I had caulked my bookshelves incorrectly. I had added globs of dark brown caulk which looked messy and that no amount of stain would cover.

So, Arlen and I spent many, many hours sanding down the mess until we were left with the thinnest sliver of caulk between the boards.

We didn't do a perfect job, but we did the best we could with the energy and tools that we had. Once everything looked good enough, we began staining the shelves with a deep brown stain. It took two small cans of stain to coat all of the bookshelves. We only applied one coat as we aren't trying to weather proof these boards (just because I'm calling it a woodland library doesn't mean it will be damp like one!).


Something we hadn't realized until we started staining was that, for every spot we had sanded, the stain was sucked into the wood at twice the rate of the un-sanded portions. It also didn't look nearly as glossy. So just another note to my future self: be extra careful when caulking because it may cost you a lot more that you anticipated as you progress through your project.
Once the stain had dried, it was time to paint the wall in which we had attached all of the shelves. We tried our best to pick a color that matched the depth and tone of the stain and I think we did a pretty good job! We chose the color Havana Coffee by Behr in the eggshell base.

We taped around all of our newly stained shelves and then took off with the painting! In the end, we used two quarts of paint to cover the back walls as well as the door and the trim to the closet. Pictured below is only the first coat, which is why the door looks patchy.
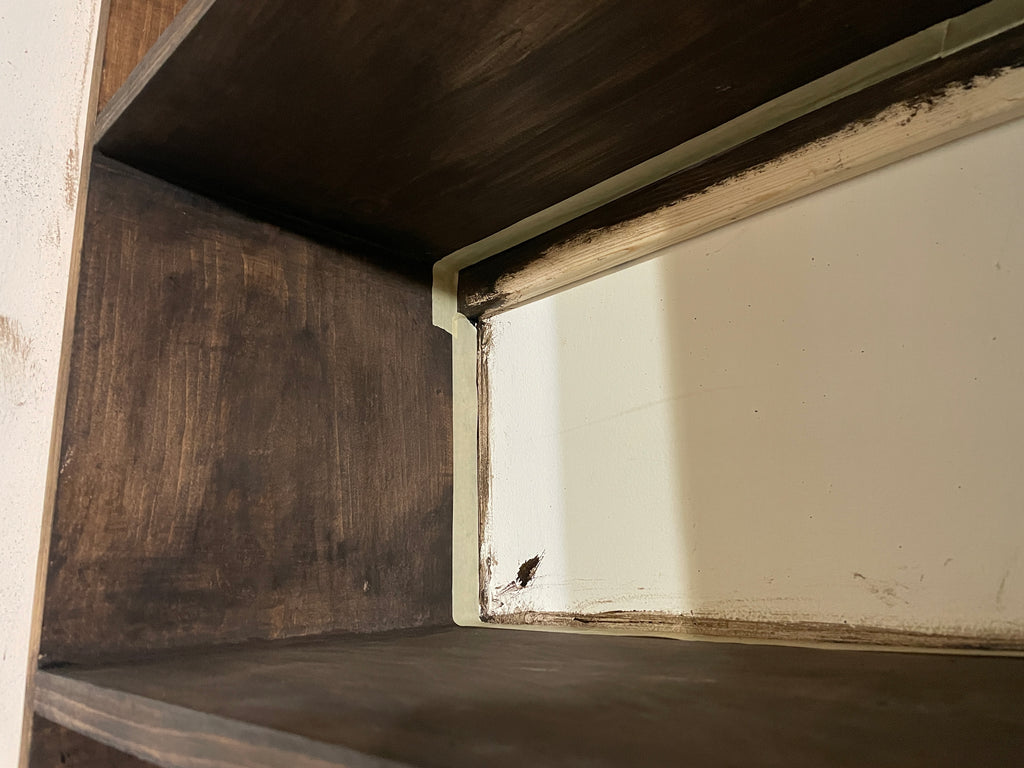


While waiting for the paint to dry, I decided to work on covering our basting-dish vent. I found this beautiful aluminum sheet at Home Depot for only $12. It was much too large for the vent, so I took a pair of metal scissors and cut it down to the proper size.


Then - with the leftover spray paint I had from a different project - I gave the front of the vent cover two coats of black paint.


Once dry, I attached the cover with some small, black and silver screws. Doesn't it already look loads better?

Now, all that was left to do was to attach some trim all around the bookshelf to give it a bit of finesse. We added some thin strips of lattice wood to all of the long, vertical bits as well as across the tippy-top of the bookcases. This helped to hide any gaps from the bookshelf to the ceiling/ walls as well as create the illusion that the bookshelf was one solid unit.


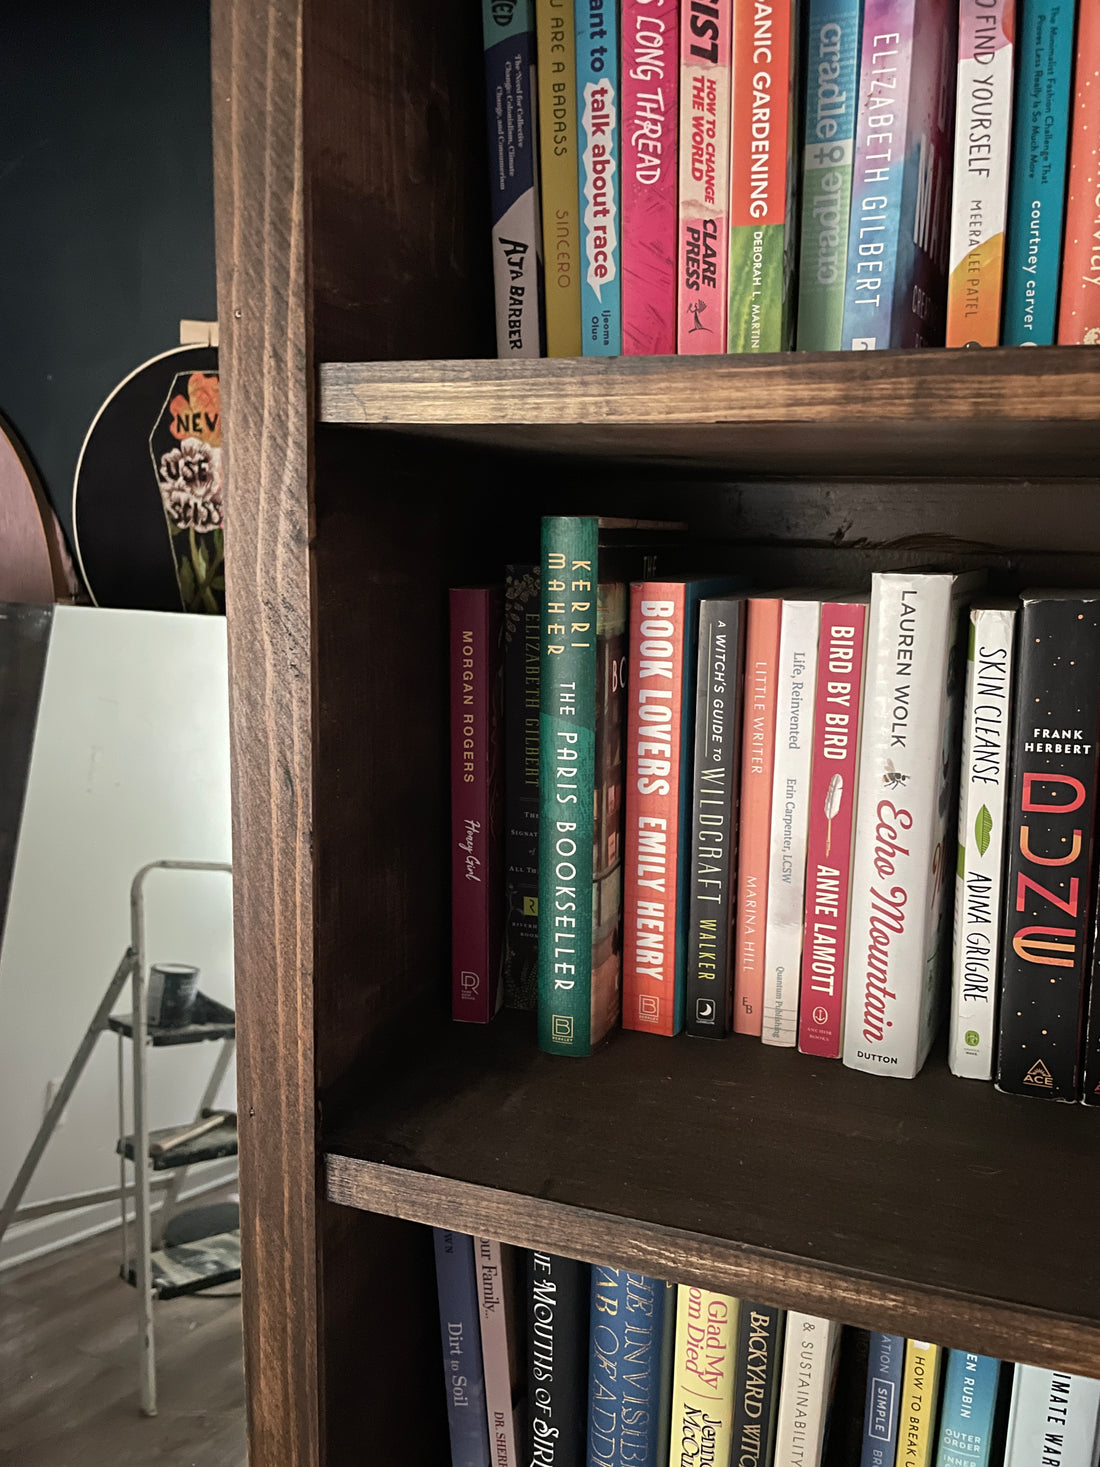
Finally, we patched any bits of wood that had been joined together, sanded, and stained them. Then, we cleaned the room (it needed several rounds of vacuuming to remove all the dust from sanding) and loaded up the shelves with our current book collection and whatever decor we had lying about and sat back to admire all of our hard work and progress.


1 comment
curious about the little white dots on the shelves – are they labels? have you alphabetized your books?